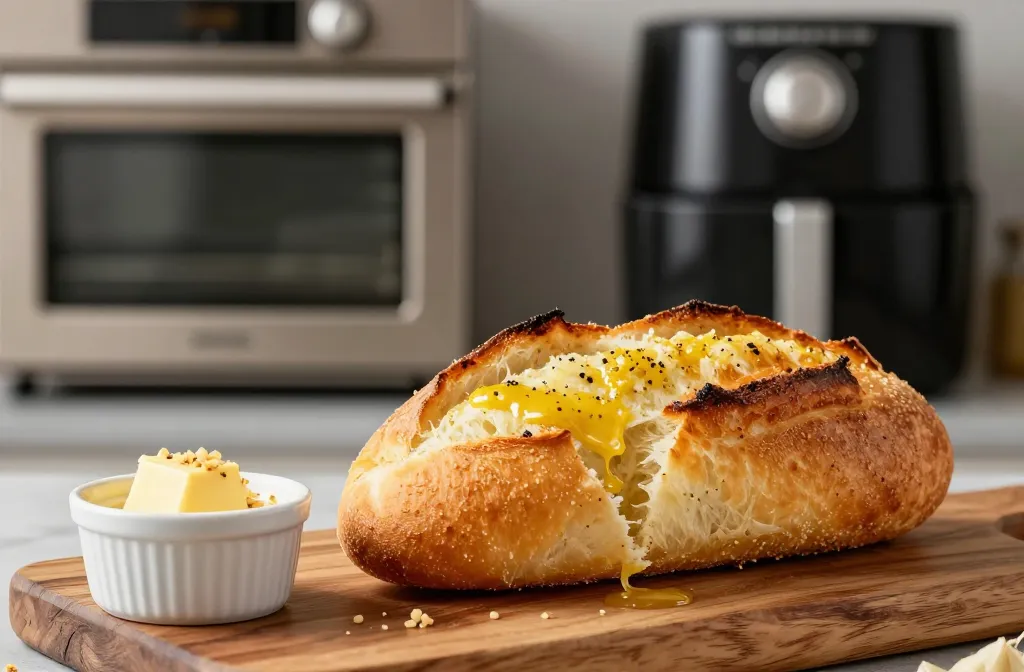
The scent hits you before you bite: garlic, butter, and that perfect crumb. Gluten-free garlic bread isn’t some sad, crumbly sidekick anymore—it’s a carry-everywhere sidekick, ready for oven or air fryer glory. You bring the toppings, the butter bath, and I’ll bring the crispy, chewy goodness you crave.
Getting the vibe right: gluten-free garlic bread that actually tastes like bread
If you’ve ever skipped garlic bread because gluten-free crusts felt dry or gummy, you’re not alone. The good news: with the right mix and a little technique, gluten-free garlic bread can be light, chewy, and punchy with garlic flavor. The goal is a crust that stays crisp on the outside but soft inside, with garlic butter that doesn’t soak in and turn everything soggy. FYI, it’s absolutely doable in both an oven and an air fryer.
Choosing your base: gluten-free bread options that work
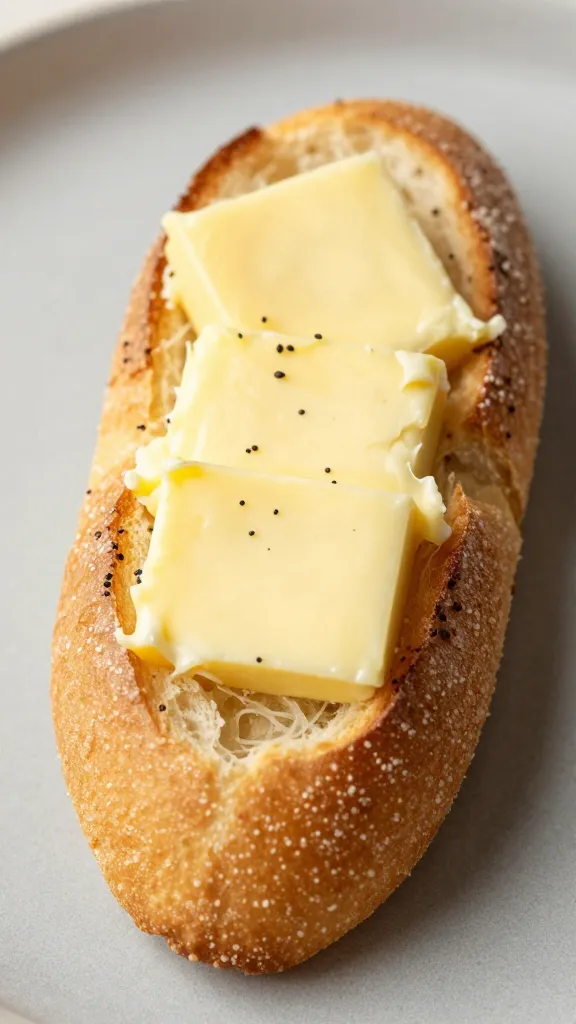
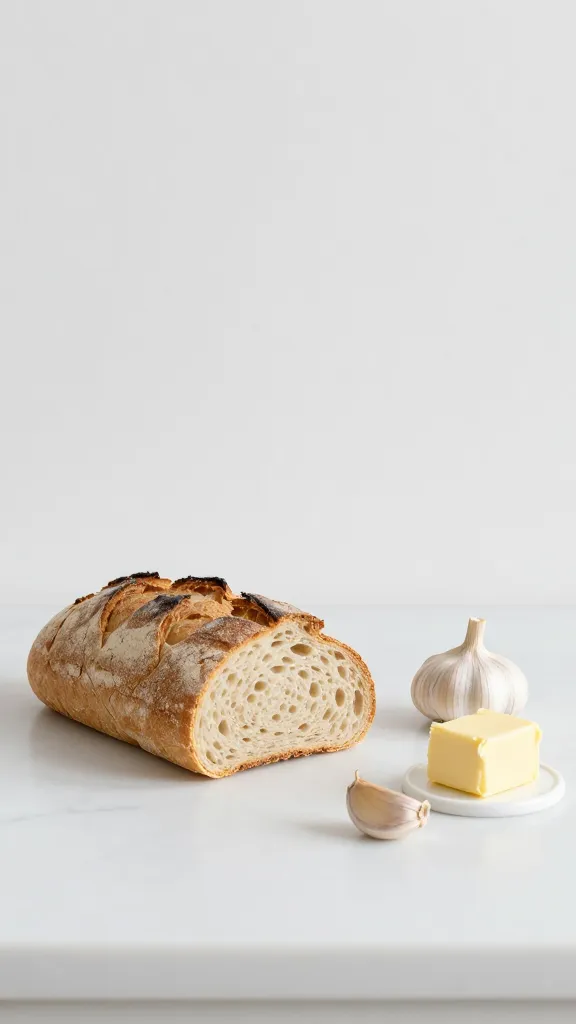
- Gluten-free artisan bread with a sturdy crumb works great. Look for bread labeled “toast-ready” or “firm crumb.”
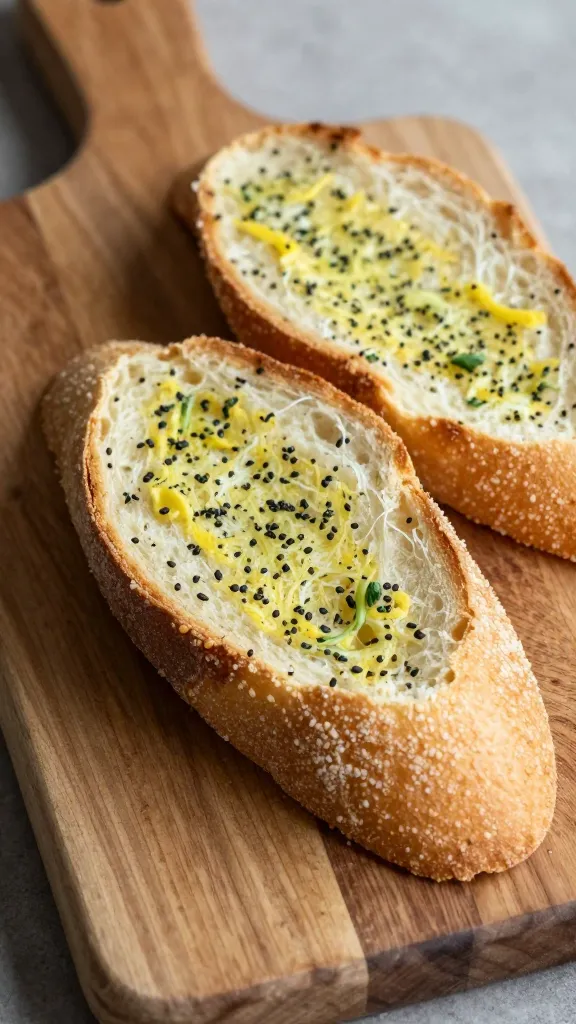
- Gluten-free baguette—slice into thick pieces for maximum bite.
- Flatbreads or sandwich thins as a lighter option, but you’ll want to adjust butter quantity so they don’t dry out.
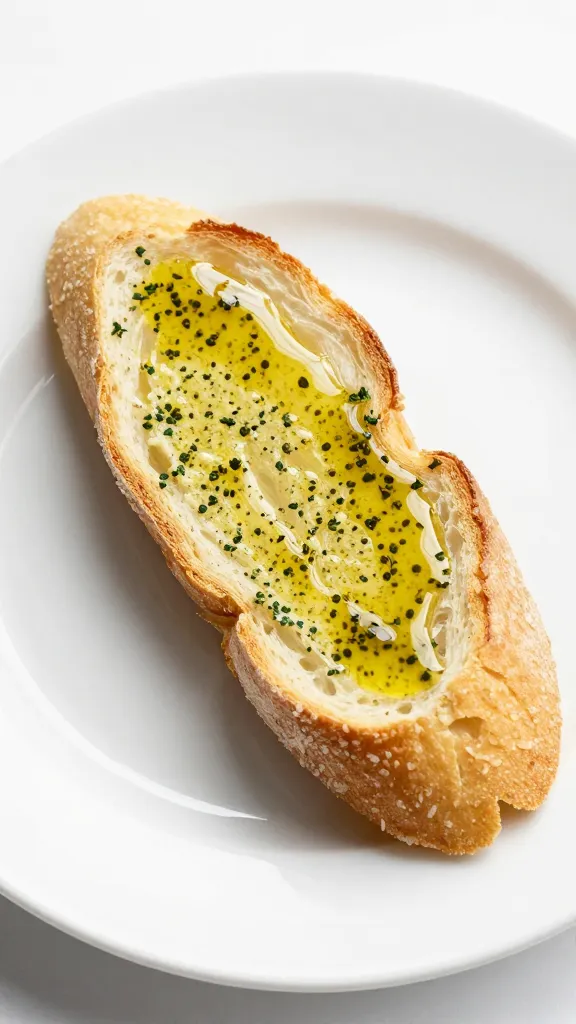
- Homemade GF loaf gives you control over moisture. If you bake your own, add a touch more moisture or a tablespoon of olive oil.
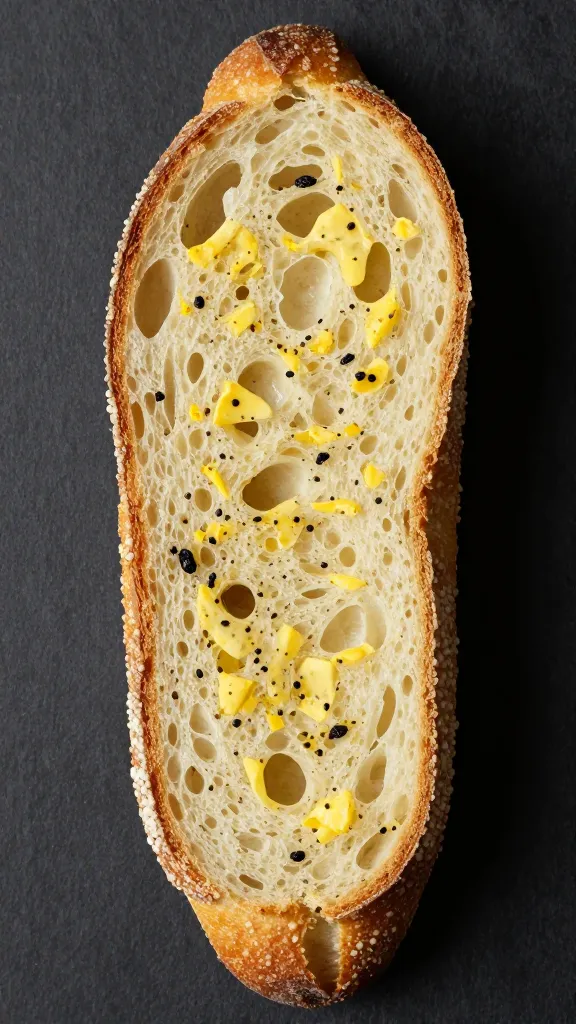
Tip: aim for bread that’s slightly stale or day-old. Fresh GF bread can crumble a bit too easily when king-sized garlic butter goes on. Let it rest for a bit after slicing to make it easier to handle.
Oven method: classic crispy-chewy, the old reliable
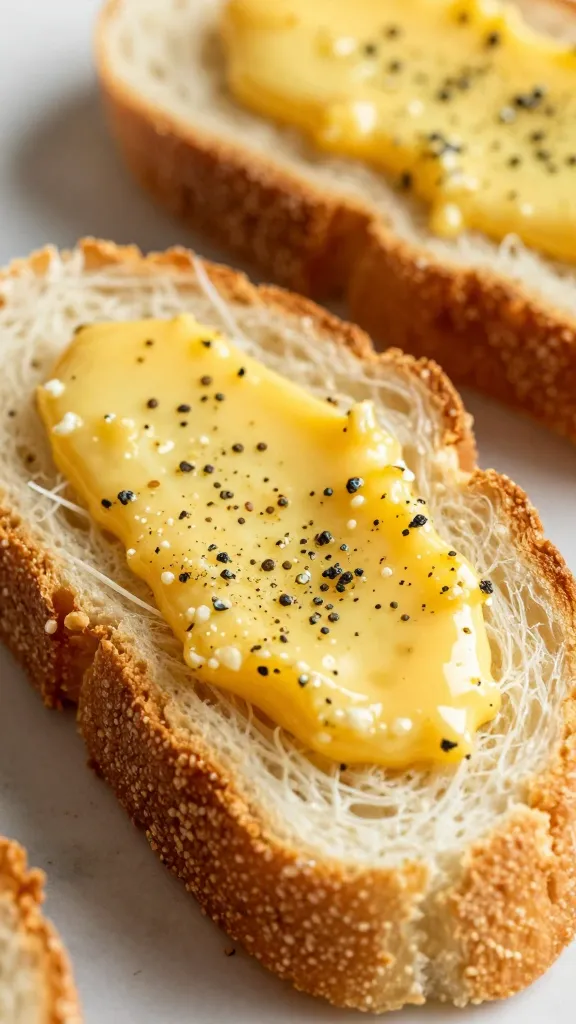
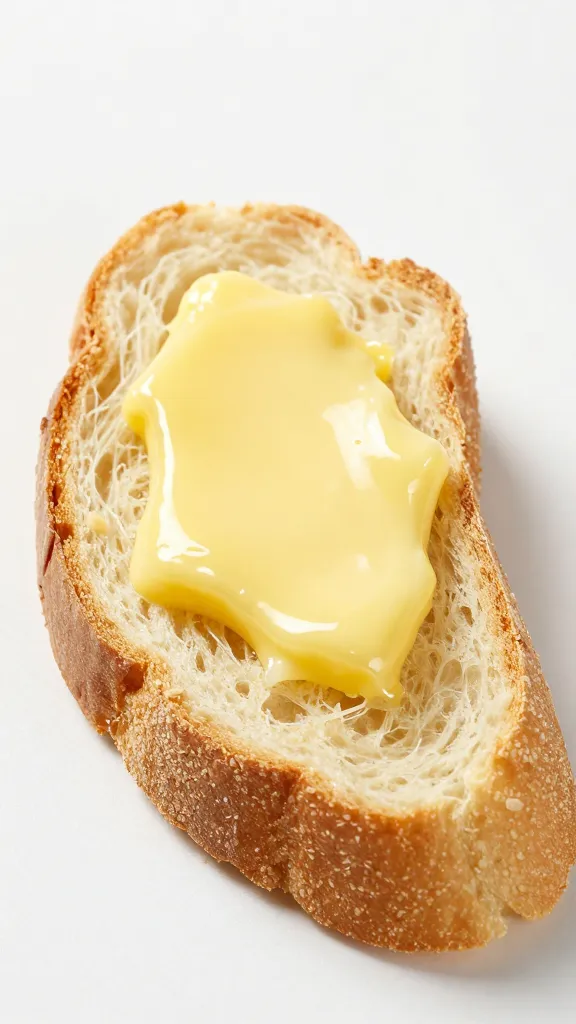
- Butter and garlic base: Melt butter with minced garlic, a pinch of salt, and optional herbs. Infuse for 10 minutes if you’ve got the time, then strain for smooth dipping potential.
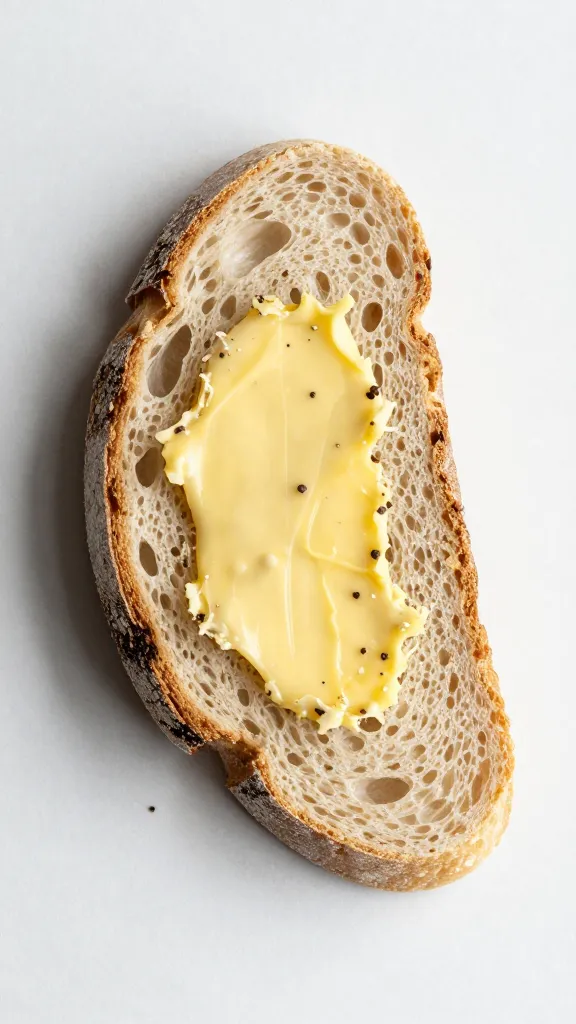
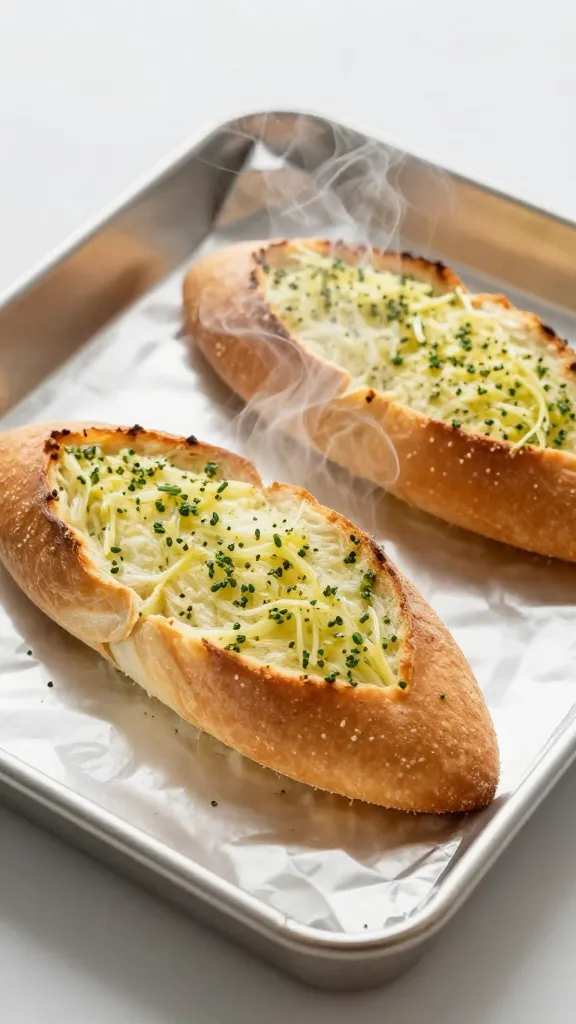
- Slather generously: Brush or spread the garlic butter across the bread, then dust with a little grated Parmesan or a dairy-free alternative for that cheeky extra crunch.
- Heat to crisp: Bake at 425°F (220°C) for 8–12 minutes, flipping halfway so both sides get love. For a deeper golden crust, broil for the last 1–2 minutes—watch closely so it doesn’t burn.
Pro tip: after slicing, arrange bread in a single layer with space between pieces. Crowded bread steams and stays soft—no one wants soggy edges.
Air fryer magic: quicker, crispier, weeknight-friendly
- Prep the garlic butter the same way as the oven method, but keep an eye on the butter—air fryers can scorch garlic faster than you think.
- Layering matters: arrange slices in a single layer. If you’ve got a small basket, do two batches instead of stacking.
- Time and temp: 350°F (175°C) for 5–7 minutes usually does the trick. If you want extra crisp, nudge to 400°F (200°C) for the last minute or two. Flip once for even browning.
- Chew factor: pull early for softer garlic bread or go a little longer for a hardcore crunch.
FYI: some air fryers run hotter than the dial suggests. Start with shorter times and check often. No one loves burnt garlic that tastes like a campfire.
Tips for best results: dos and don’ts
Pro tips
- Use unsalted butter and add salt to taste. You control the seasoning, not the bread.
- Season the garlic butter with parmesan or nutritional yeast for a cheesy kick without dairy, if you prefer.
- Let the bread sit a minute after toasting. It firms up the crust and prevents it from turning to mush once you dip in sauce.
Common mistakes
- Using bread that’s too fresh. It tears and falls apart. Go for a day-old vibe or toast the slices a bit first.
- Overloading with butter. It bleeds into the crust and makes it soggy rather than crisp. Moderation is sexy here.
- Skipping the preheat. It’s the difference between a quick tan and a pale, sad loaf.
Ingredient swaps
- Dairy-free: Use olive oil or dairy-free butter alternatives. Add a pinch of white miso for depth.
- Cheesy: Nutritional yeast or dairy-free parmesan works beautifully for a cheesy finish.
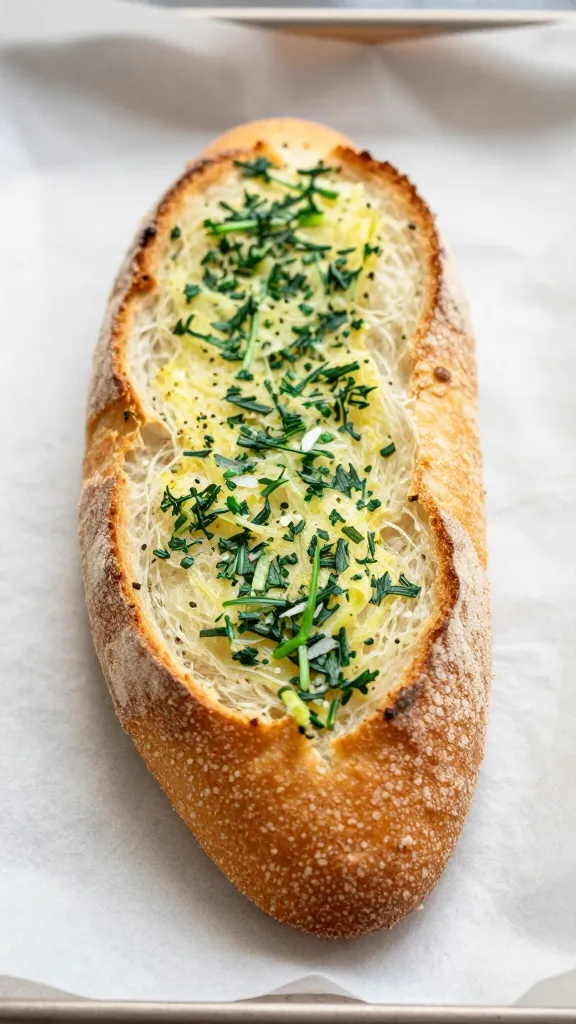
- Herbs: Try fresh parsley, oregano, or a whisper of thyme. Fresh herbs wake up the garlic.
Variations: fun riffs to try
- Spicy kick: Add a pinch of crushed red pepper flakes to the butter for a little sizzle.
- Herb-forward: Double down on garlic with minced garlic and roasted garlic puree; finish with chopped parsley.
- Cheesy crust: Mix in shredded mozzarella or a dairy-free cheese blend for an ooey-gooey top crust.
- Wine-night pairing: Brush with garlic butter and a drizzle of white wine reduction for a bit of sophistication.
Comparison blocks
- Oven vs Air Fryer: Oven gives a more even, deeper crust if you’re feeding a crowd. Air fryer wins on speed and crispiness for small portions.
- Gluten-free bread types: Artisan GF loaf tends to be sturdier; baguette slices offer better crunch; flatbreads are quick but can dry out fast if overappeared.
Serving ideas: when to pull the bread into the main event
- Serve as a primo starter with a bowl of tomato-basil soup or a hearty marinara. Dip, don’t dunk—these slices soak up sauce too quickly if you’re not careful.
- Pair with pasta night: garlic bread makes a dramatic cameo when you’re twirling noodles in a robust sauce.
- Make it a handheld snack by cutting into strips and pairing with a dipping sauce like ranch, marinara, or a basil pesto dip. IMO, this is a move you’ll thank me for at midnight.
FAQ
Q: Can I freeze gluten-free garlic bread? A: Yes. Slice before freezing, wrap tightly, and reheat in the oven or air fryer. You’ll want to bring it up to a gentle crisp rather than re-baking from frozen—give it a couple extra minutes if needed.
Q: How do I prevent the bread from drying out? A: Don’t overcook. Use a light blanket of garlic butter and avoid thin slices that dry out quickly. A touch of olive oil in the butter base helps maintain moisture.
Q: Can I make this dairy-free? A: Absolutely. Swap butter for olive oil or dairy-free butter, and use nutritional yeast or dairy-free parmesan for the cheesy edge.
Pro tips, quick recaps, and a cheeky finale
- Warm-up trick: If you’re starting from cold bread, warm the slices in the oven for a few minutes before slathering with butter. It helps the butter melt in without making the bread soggy.
- Texture test: A good gluten-free garlic bread should crackle at the edges but stay tender in the center. If it’s all crunch, you might have left it in too long or used overly dense bread.
- Flavor check: Taste the garlic butter before you bake. You can always rescue a bland batch with a pinch more salt, a dash of lemon juice, or a sprinkle of herbs.
Conclusion
Gluten-free garlic bread is not a myth or a mystery—it’s a warm, butter-kissed reality you can pull off in the oven or the air fryer. With the right bread, a confident garlic butter, and a bit of timing, you get that crave-worthy crunch and that soft, flavorful center all in one glorious slice. So grab your loaf, pick your method, and go to town. IMO, you’ll want seconds, thirds, and probably a napkin to mop up the garlic-sauce party in your mouth. Happy toasting, my friend.