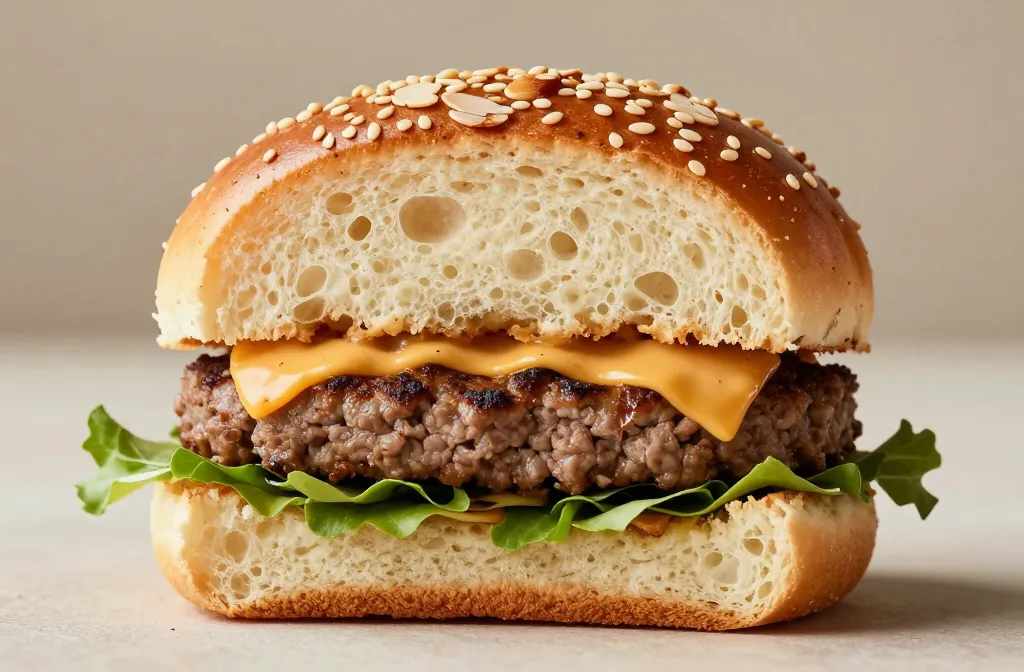
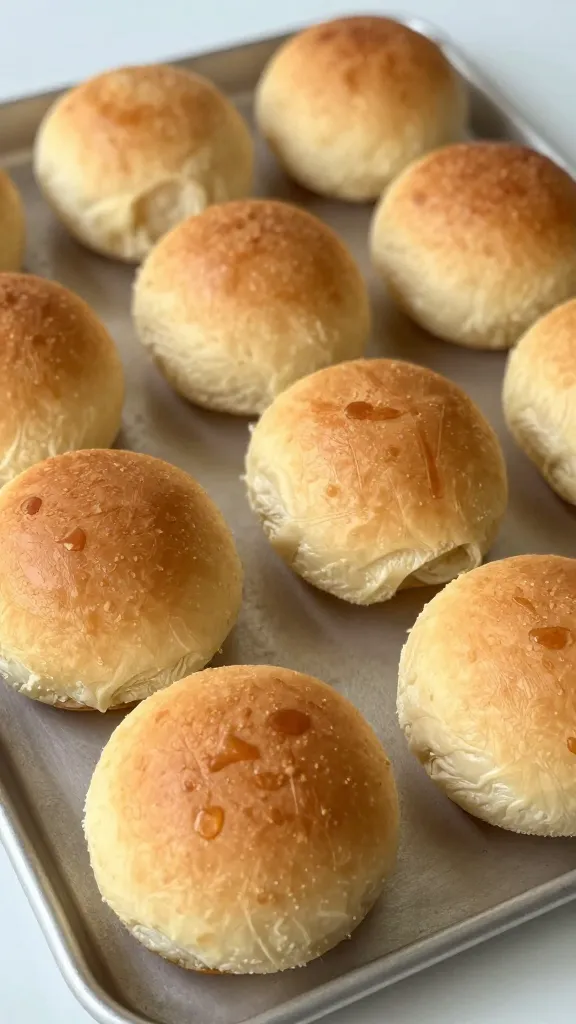
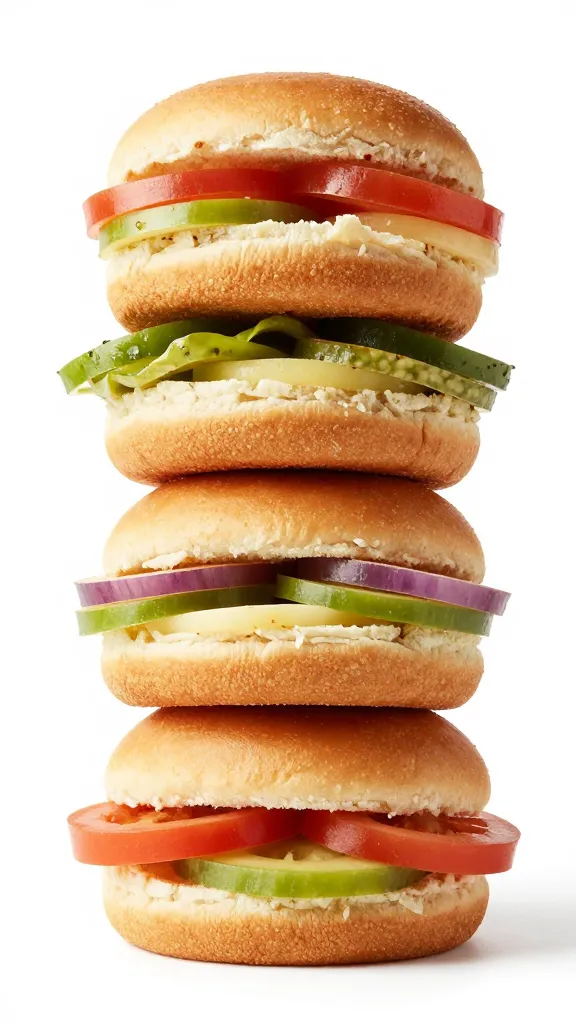
Gluten-Free Burger Buns that are soft, fluffy, and surprisingly easy to make at home? Yes, please. If you’ve ever sacrificed texture for gluten-free生活, you’re in for a delicious wake-up call. These buns hold up to juicy patties, meltable cheese, and all the toppings without turning grainy or crumbly. Let’s bake our way to burger heaven.
What makes a gluten-free bun truly soft and fluffy?
Softness isn’t magic; it’s science with a dash of love. Gluten-free dough relies on starches and binders to mimic gluten’s elasticity. The best buns trap steam, stay light, and don’t crumble when you bite through a thick patty. Think milk, eggs, emulsifiers, and the right starch blend. You’ll want something that holds together without feeling dense or dry.
Flour blends that actually work
- Rice flour plus tapioca or arrowroot starch for structure and stretch.
- Potato starch brings a tender crumb without gummy textures.
- Cornstarch softens and lightens the bite; just don’t go overboard.
Tip: Many bakers love a blend that includes xanthan gum or psyllium husk as a binder. If you skip binders, your buns will crumble faster than your willpower around fresh cookies. FYI, a pinch of xanthan gum (about 1/2 teaspoon per cup of flour blend) makes a world of difference.
Key ingredients that keep things workable
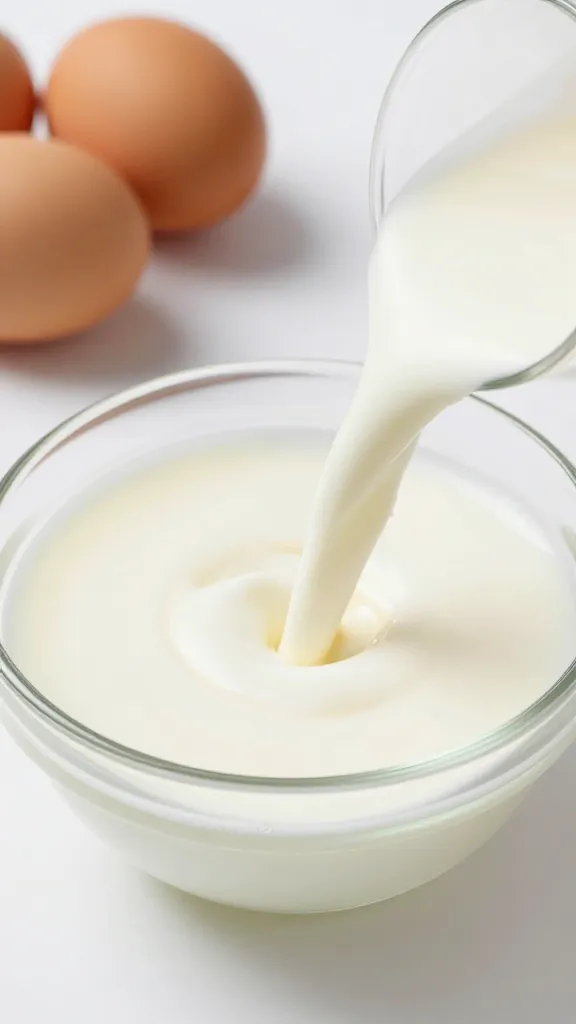
- Eggs or a vegan binder for lift and moisture
- Yogurt, milk, or a dairy-free milk for tenderness
- Butter or oil for richness
- Sugar or honey to feed the yeast and improve browning
- Active dry yeast for rise
Pro tip: Don’t skip the milk or dairy-free alternative. The fat shortens and softens the crumb, while the sugars feed the yeast for that nice domed top.
Step-by-step: how to mix, rest, and rise
First, warm your liquids to about 110°F (43°C). If it’s hot enough to make your finger sweat, you’ve gone too far—think cozy bathwater, not lava. Bloom the yeast in the warm liquid with a pinch of sugar for 5-10 minutes until it foams.
Mix your dry ingredients in one bowl, then whisk in the wet until a shaggy dough forms. Don’t panic if it looks a bit sticky—that’s normal. Kneading gluten-free dough is a gentle ritual: a few minutes by hand or 1-2 minutes with a mixer until it just comes together.
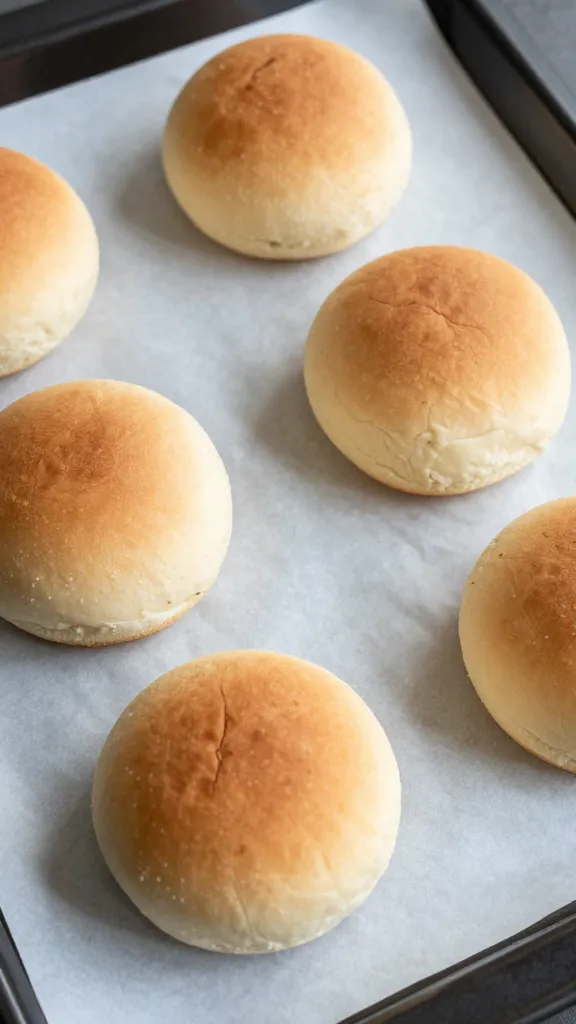
Let the dough rest and rise. Gluten-free dough doesn’t rise the same way as wheat, but it should puff noticeably. A warm, draft-free spot is your friend. After the first rise, portion into round buns, place on a parchment-lined tray, and give them a final proof until puffy.
Shaping tips for bakery-worthy buns
- Use a scale to portion; even 10-gram differences matter for pinch-perfect buns.
- Lightly oil your hands to prevent sticking when shaping.
- Flat-top buns look pretty; one gentle pinch on top gives a tiny dome as they bake.
A little trick: pat the dough balls into smooth spheres, then press gently on top to form a small dome. They rise better and look pro Ankara-bread-shop ready.
Pro tips
- Steam helps: Bake with a splash of water in the oven or use a pan of hot water on the rack below. The steam keeps the crust tender and the inside light.
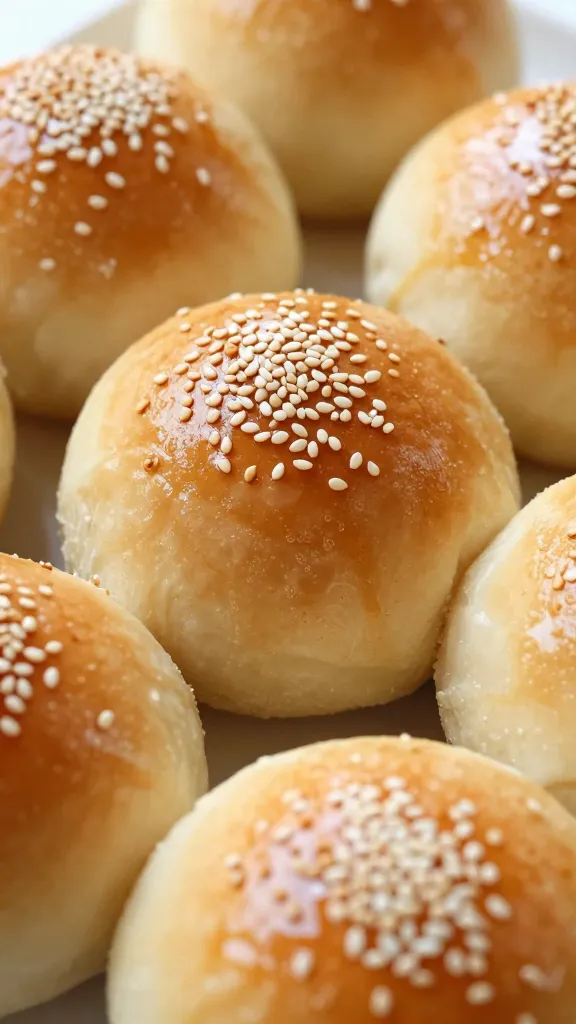
- Butter lift: Brush with melted butter during the last few minutes of bake for a glossy finish and extra softness.
- Make-ahead: Bake, cool completely, then freeze buns in airtight bags. Reheat in a 350°F (175°C) oven for 6–8 minutes before serving.
- Egg-free option: Use a flax egg (1 tablespoon ground flaxseed + 3 tablespoons water, 5 minutes to gel) plus a touch more yogurt or dairy-free milk for moisture.
Common mistakes (and how to dodge them)
- Over-drying the dough: Gluten-free dough can dry out fast. If you see floury patches, add a splash more milk or water.
- Under-kneading: You don’t need a gluten network, but the dough still benefits from gentle mixing to hydrate starches and distribute air.
- Cold ingredients: Cold liquids kill yeast. Always aim for a cozy room temperature or a warm bath for your liquids.
Variations you can actually pull off
- Sesame seed crown: After shaping, brush buns with egg wash and sprinkle sesame seeds. Classic and classy.
- Herbed milk buns: Infuse your milk with garlic, thyme, or rosemary for a savory twist that pairs with turkey or veggie burgers.
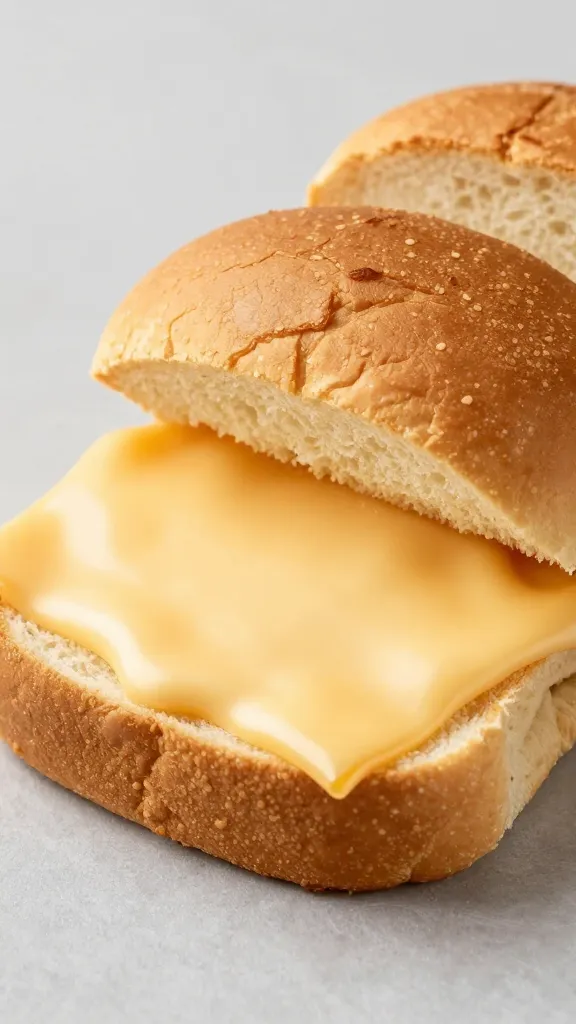
- Cheesy center: Fold a small square of cheese into the middle of each bun for a gooey surprise when you bite in.
Comparison blocks

Gluten-free vs. conventional buns
– Gluten-free buns trade chewy gluten networks for a soft, tender crumb. They’re often lighter and soak up sauces wonderfully, but may need a touch more toasting to crisp up.
Egg-free GF buns
– Egg-free options tend to be a touch denser but handy for allergies. You can boost fluff with psyllium husk or extra yogurt, but texture will differ from classic eggs.
Dairy-free GF buns
– Dairy-free versions lean on almond, coconut, or oat milks. They stay soft, but fats from dairy help the crumb; add a little oil to compensate.
FAQ
Q: Can I freeze gluten-free buns before or after baking? A: Both work. Freeze the unbaked dough balls for a quick bake later, or bake, cool completely, and freeze. Reheat gently to avoid drying.
Q: My buns taste eggy. What did I do wrong? A: Too much egg or overly long mixing can cause a strong egg flavor. Try using a smaller amount or swap with applesauce in a vegan version.
Q: They crumble when I bite. Help! A: Ensure you used a binder like xanthan gum or psyllium. Add a touch more moisture or reduce the flour blend by a tablespoon or two if the dough feels crumbly.
Tips for best results
- Measure accurately. Gluten-free baking thrives on precision.
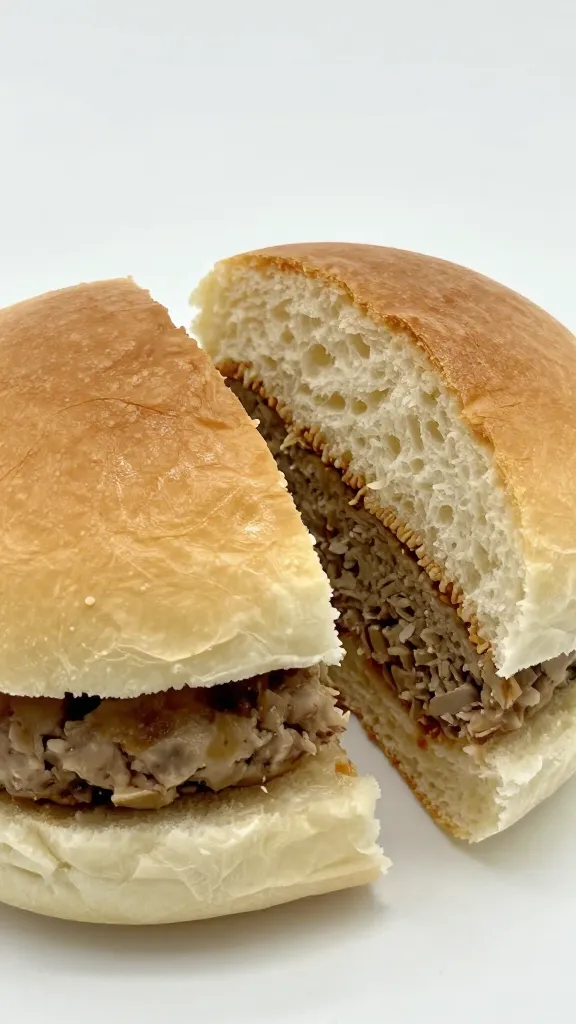
- Let buns cool completely before slicing to avoid squishing them.
- Toast lightly for extra sturdiness when loading toppings.
Ingredient swaps
- Milk swap: Use any dairy-free milk with a little yogurt or dairy-free yogurt for tenderness.
- Butter swap: Use olive oil or coconut oil for dairy-free richness.
- Binder swap: If you don’t have xanthan gum, psyllium husk works nicely in the right amount (about 1 teaspoon per cup of flour blend).
Endlessly delicious outcomes
These buns aren’t just a gluten-free workaround; they’re a legit upgrade to your burgers. The crumb stays soft after saucing, the crust holds its shape, and you won’t miss the gluten trap. IMO, they’re great for weeknight meals and weekend grilling alike. FYI, your guests might not even realize they’re gluten-free until you tell them—and in this case, secrecy might be the sweetest win.
Conclusion
Soft, fluffy gluten-free burger buns are totally achievable with the right blend, a little patience, and a willingness to adjust. You’ll get a tender bite, sturdy enough to hold all your toppings, and a crust that’s just crisp enough to be swoon-worthy. Ready to roll up your sleeves and bake? Grab your sheets of parchment, preheat the oven, and let’s make burger night epic.