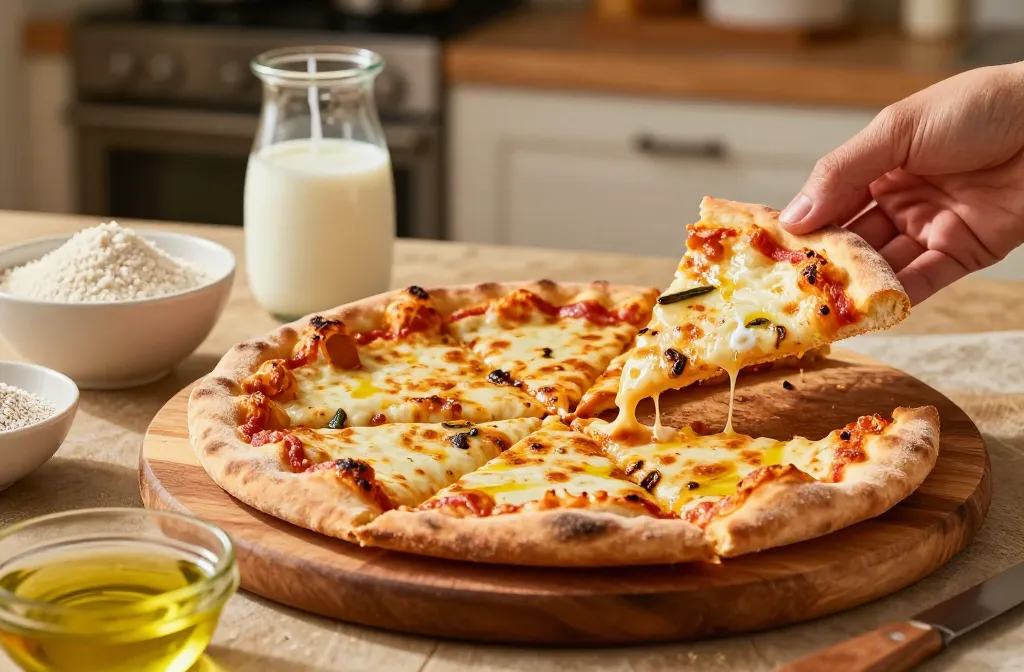
Yeast-free gluten-free pizza dough isn’t a myth. It’s a legit, weeknight-friendly reality you can pull off with a few smart swaps and a confident toss. If you’ve ever chased a chewy, gluteny crust and ended up with a brick, you’re not alone. Let’s cut the drama and bake something delicious instead.
What makes this dough different (and why you’ll love it)
This dough skips yeast, so it won’t rise like a traditional crust. Instead, it relies on binding agents, moisture, and a bit of fat to get that forgiving, crisp-on-the-edges texture. The result? A sturdy base that won’t crumble when you pick up a slice, but still light enough to bite through with enthusiasm. It’s also incredibly versatile for toppings, which means you can swap out flavors without reinventing the wheel.
You don’t need a long rise or a fancy starter. You do need reliable ingredients and a gentle hand. FYI, patience matters—not in hours, but in minutes of resting and a hot oven to seal the deal.
Core ingredients you actually need
– Gluten-free flour blend with xanthan gum or a separate binder. If your blend already has xanthan gum, you’re golden. If not, add a pinch per cup of flour.
– Starch component like tapioca or potato starch for stretch and chew.
– Moisture from water, milk, or a dairy-free alternative to hydrate the dry mix.
– Fat keeps things tender. Think olive oil, melted butter, or a neutral oil.
– Binders such as eggs or an egg-free binder like flax eggs or chia eggs, especially if you’re dairy-free.
– Flavor boosters: a pinch of salt, a touch of sugar (helps browning), and optional garlic powder or Italian seasoning.
If you’re dairy-free, swap milk for a plant milk and use oil instead of butter. If you’re egg-free, embrace a flax egg or chia egg—your crust won’t miss you for it. The point is simple: you want a dough that comes together without cracking, and that bakes into a sturdy, sliceable crust.
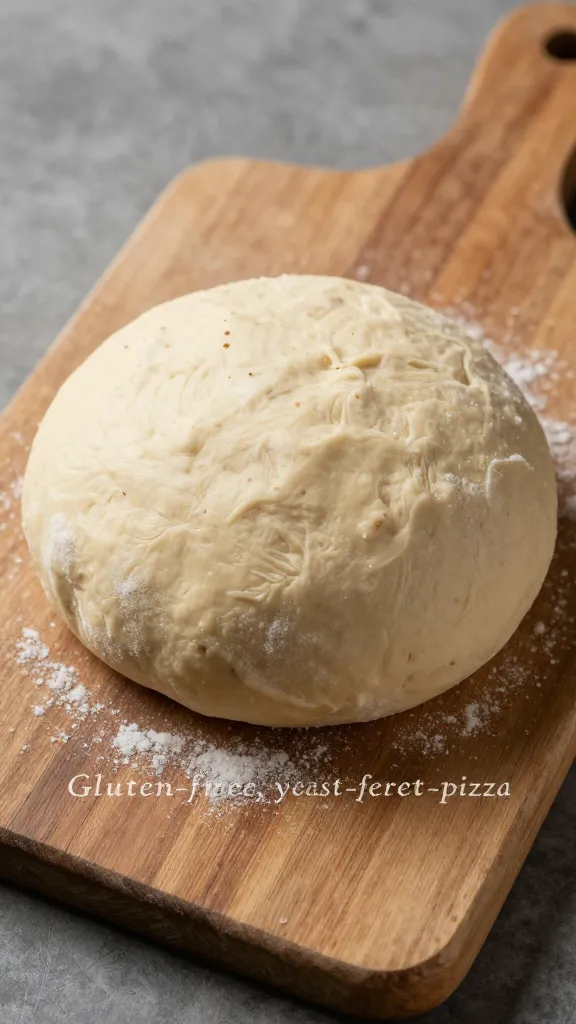
Getting the dough to come together (without the stretch and fold drama)
– Dice the fat in small pieces and mix into the dry ingredients so you get little pockets of tenderness. This helps the crust stay soft inside and crisp outside.
– Warm liquids can help hydrate faster. Lukewarm water or milk makes the dough more cooperative.
– Don’t overmix. Gluten-free dough wants gentleness. Mix until just combined, then rest. This is where the magic happens.
– Rest time isn’t optional. Let the dough rest for 15–20 minutes. It relaxes and hydrates, which makes rolling it out easier and prevents it from tearing.
A quick trick: if your dough feels sticky, dust your surface and hands lightly with flour blend, then roll. If it feels dry, splash in a teaspoon of liquid at a time until it comes together.
Roll, dock, bake, repeat: the crust cycle
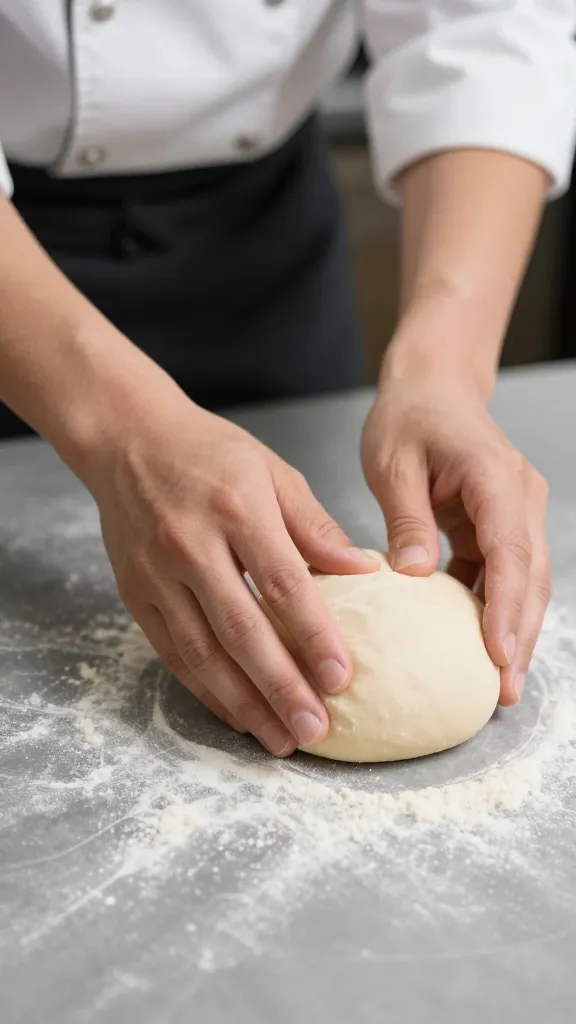
– Roll or press gently into a circle or rectangle. Aim for about 1/4-inch thickness for a crisp edge. Too thick and you’ll end up with a doughy center; too thin and the toppings overwhelm it.
– Dock lightly with a fork to prevent air pockets from ballooning in the oven. No one wants a dome of doom.
– Bake blind? sometimes. If you’re aiming for a super-crispy bottom, par-bake for 6–8 minutes before adding toppings. If you want a softer crust, skip this step.
– Toppings go on after the initial bake or after a quick pre-bake, depending on how melt-friendly your toppings are. Wider tips: use less watery toppings (tomato sauce with a bit of thickener, pre-cooked veggies) to avoid soggy crusts.
How you finish it matters. A hot oven (450–500°F / 230–260°C) with a pizza stone or heavy baking sheet underneath gives you that professional bite. IMO a pizzaiolo vibe is in the heat and the patience.
Common experiments that actually work
Substitutions that won’t derail your dough
– Swap dairy with a rich plant milk and extra oil for a slightly richer crust.
– Use arrowroot or cornstarch in place of a portion of the tapioca for a different chew factor.
– Replace eggs with a flax or chia binder to keep things vegan without losing cohesion.
Flavor boosters that don’t complicate things
– A pinch of garlic powder, oregano, and a light sprinkle of sea salt on the crust itself can turn a basic base into a party.
– Brush the edge with olive oil and garlic for a faux “garlic crust” that smells amazing as it bakes.
Tips for best results
– Rest dough in the fridge for 20–30 minutes if it’s sticky. Cold dough is easier to handle.
– Pre-heat your stone or sheet; a hot surface is your best friend for a crisp bottom.
– If the crust is tearing, press it back together with floured fingers rather than adding more flour. Patience, friend.
Pro tips
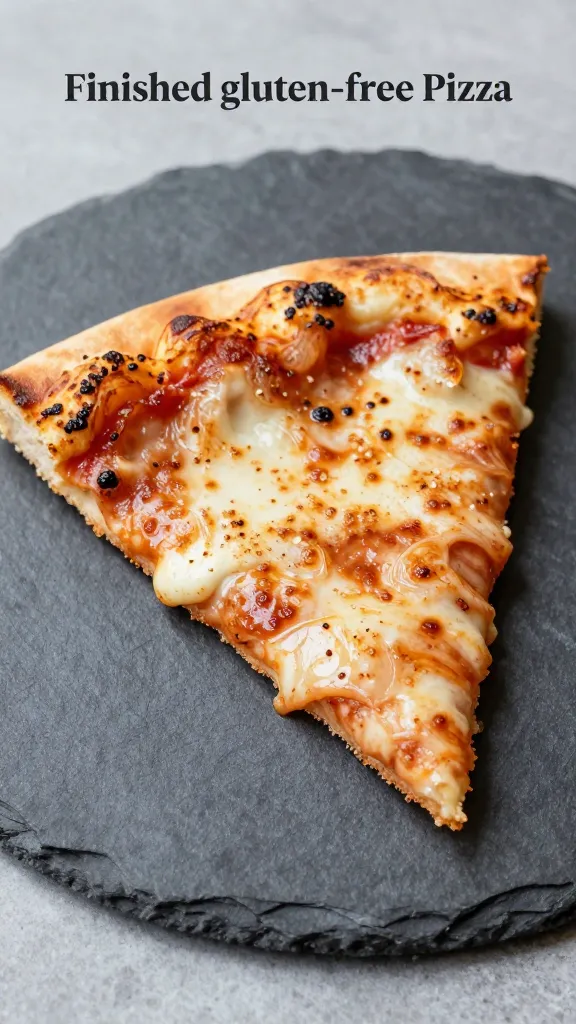
– The bake window is a thing. Watch for the crust to turn golden at the edges and bottom. It should look set and slightly firm, not pale and soggy.
– Use a cornmeal dusting or parchment for easy transfer. It prevents sticking without introducing too much extra flour.
– If you want a pizza that slices cleanly, let it rest for 5–10 minutes after baking. The steam escapes, and you won’t pull off more crust than you intended.
Common mistakes
– Overworking the dough. It makes the crust tough and less forgiving.
– Using flour that’s too absorbent without compensating liquid. Balance is key.
– Skipping the resting period. It’s not optional if you want a cohesive crust.
Variations
– Herb-infused crust: mix dried herbs into the dough for a fragrant base before toppings.
– Thin-crust blitz: reduce moisture a touch and roll thinner for a crisper bite.
– Cheesy crust: sprinkle a light cheese layer on the edge before baking for a cheesy edge. Ensure you’re not overloading the crust so it still bakes evenly.
Comparison: yeast-free gluten-free dough vs. traditional gluten crust
Texture
– Yeast-free GF: tender crumb, sturdy slice, less chew than traditional wheat. It’s still satisfying.
– Traditional gluten: chewy, elastic, lift with air pockets.
Rise and time
– Yeast-free GF: no overnight rise; minutes of prep, minutes of rest, quick bake.
– Traditional gluten: requires rising time and sometimes multiple steps.
Flavor
– Yeast-free GF: neutral, with chance to highlight toppings and seasonings.
– Traditional gluten: complex, develops deep flavors through fermentation.
FAQ
Q: Can I freeze the dough?
A: Yes. Shape into discs, wrap tightly, and freeze. Thaw in the fridge or on the counter before rolling. It’s handy for quick weeknights.
Q: How do I know it’s cooked through?
A: The crust should be golden around the edges, firm to the touch, and the bottom should be nicely browned where it sits on the stone or sheet. Cheese on top should be melted and bubbly if you’re adding it.
Q: I added too much liquid. What now?
A: Add a bit more dry mix or a touch of gluten-free flour until it comes together without being sticky. Rest and re-roll as needed.
Conclusion
This yeast-free gluten-free pizza dough is deceptively simple and endlessly adaptable. It gives you a crust that’s sturdy enough to hold toppings, yet delicate enough to bite through with satisfaction. Whether you’re dairy-free, egg-free, or just allergic to the word “fermentation,” you can still enjoy a pizza that tastes like a victory lap. So grab your pan, preheat that oven, and start tossing toppings. IMO the best pizza nights are the nights where the dough comes together without a drama you don’t need.
If you’ve got a favorite topping combo or a unique binder swap that knocked it out of the park, drop it in the comments. FYI, I’m always on the lookout for the perfect combo that makes the crust sing. Happy pizza making!