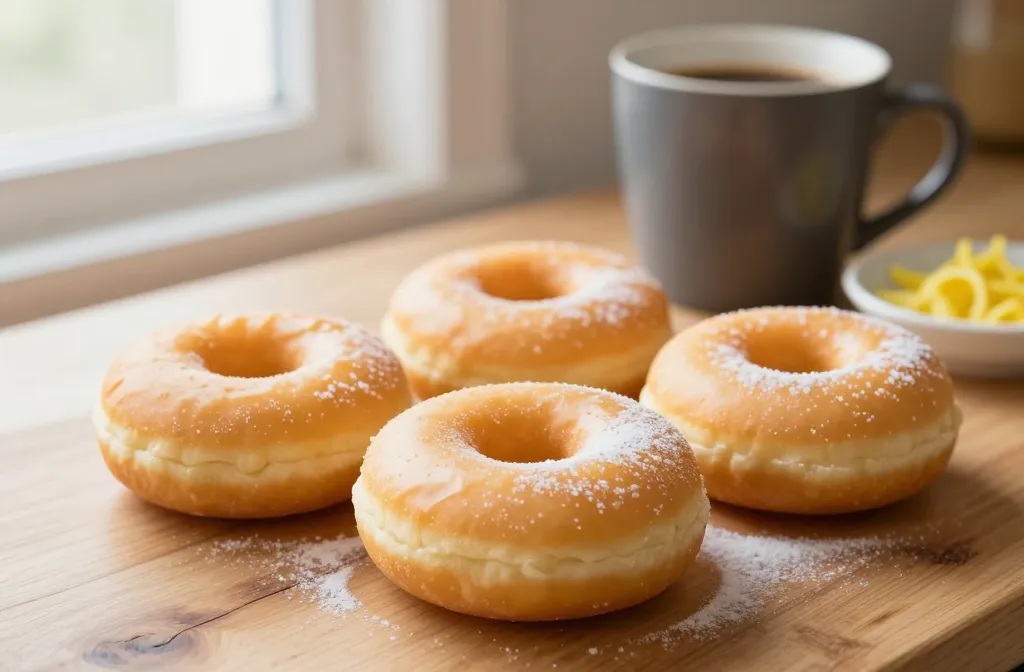
It’s not rocket science, it’s gluten-free baked vanilla donuts that taste like a hug from your oven. You want something sweet, fluffy, and doable on a Tuesday afternoon? You’ve found your people. Grab a mug of coffee and let’s bake.
Why gluten-free baked vanilla donuts are worth it
Those donuts you’ve dreamed about aren’t a myth. Gluten-free baking has come a long way, and vanilla donuts can be light, airy, and not grainy. No more choosing between texture and accessibility. FYI, you can enjoy a bakery-friend vibe at home without breaking the kitchen.
What you’ll need in the pantry
– Gluten-free all-purpose flour blend (make sure it contains xanthan gum, or add 1/4 teaspoon per cup if yours doesn’t)
– Sugar (simple granulated for the batter, plus a touch for rolling later if you want a crust)
– Baking powder and a pinch of salt
– Milk or dairy-free liquid (almond, oat, etc.)
– Eggs
– Unsalted butter or a neutral oil
– Pure vanilla extract
– Optional extras: lemon zest, cinnamon, or a splash of almond extract
Do you need to be fancy about equipment? Not at all. A donut pan is ideal, but you can get creative with a mini muffin tin or even bake muffins shaped like donuts if you’re in a pinch. The key is even heat and enough space for the batter to rise.
The batter that actually behaves
Batter behavior is everything here. Gluten-free mixes can be a little temperamental, but you can win the game with a few tricks:
– Start with room-temperature ingredients so the batter emulsifies nicely.
– Don’t overmix. Stir until just combined; overworking can lead to dense donuts.
– Use a whisk to combine dry ingredients separately, then fold into the wet with a gentle touch.
– Let the batter rest for 5–10 minutes before filling the pan. It helps the starches hydrate and prevents craters.
Tips for best results
– Scoop rather than pour for even donut shapes.
– Fill each cavity to about 2/3 full; they’ll rise and puff, not spill over.
– If the tops look pale, give them a quick blast under the broiler for 1–2 minutes—watch closely, this is a fast move.
Ingredient swaps that play nice
– Dairy-free: use almond milk and melted coconut oil or a neutral oil in place of butter.
– Egg-free: you can use 1 flax egg (1 tablespoon ground flaxseed + 2.5 tablespoons water, rest 5 minutes) per donut for a slightly denser bite.
– Flavor boost: a pinch of nutmeg or lemon zest adds a bright twist without overpowering vanilla.
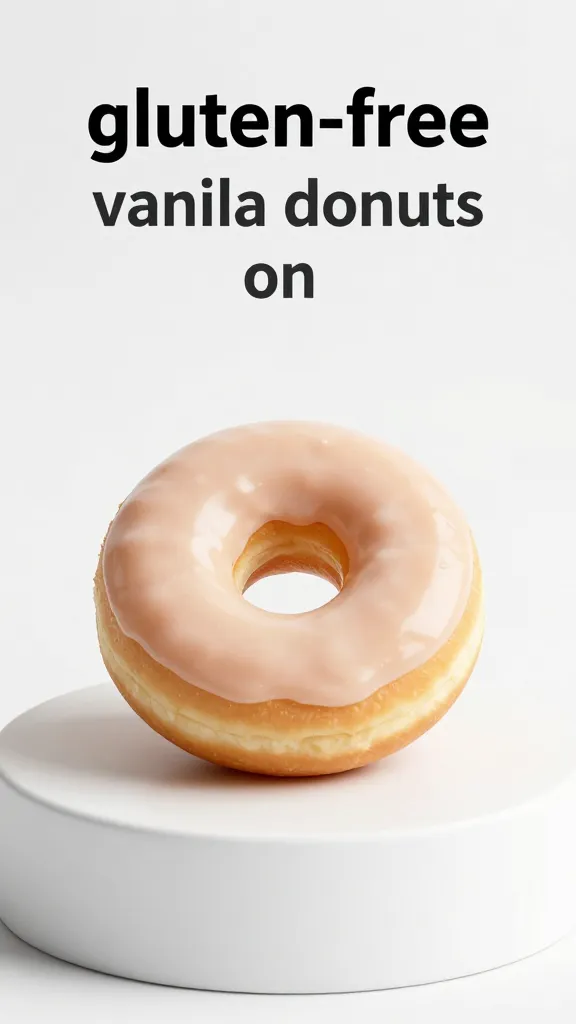
Glaze or not glaze? That is the question
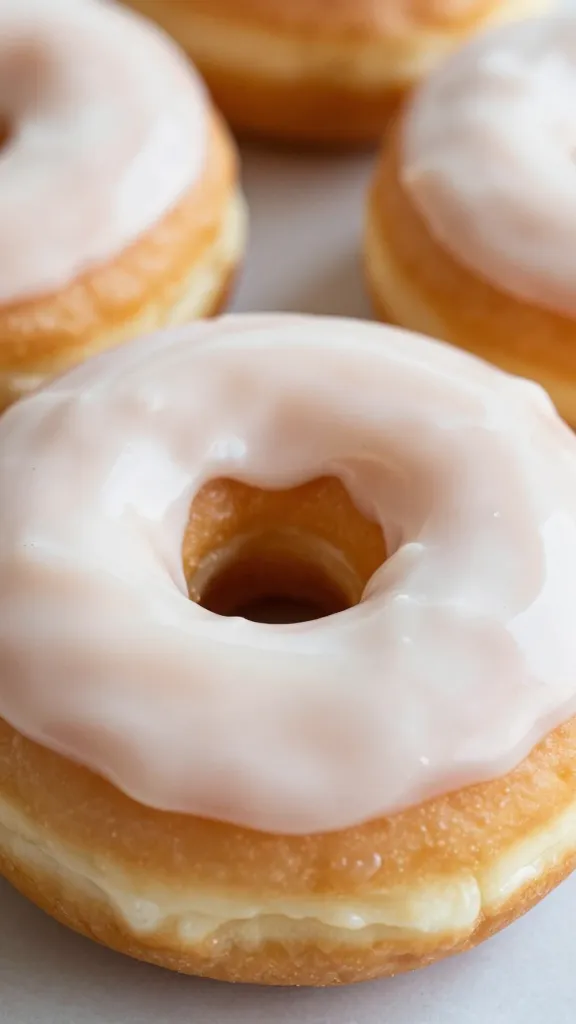
Glazing is where the donuts get their personality. A simple vanilla glaze is classy and easy:
– 1 cup powdered sugar
– 1–2 tablespoons milk
– 1/2 teaspoon vanilla
Whisk until smooth, then dip the cooled donuts. If you want texture, try a chocolate glaze or a maple-vanilla drizzle. FYI, a thin glaze sets faster than a thick one, so plan your time accordingly.
Common glaze mistakes
– Using too much liquid, which leaves a runny mess. Start with 1 tablespoon and add 1 teaspoon at a time.
– Not letting the donuts cool. Glaze on warm donuts slides off and creates a sticky, sad glaze pool.
Pro tips, common mistakes, variations
Pro tips
– Preheat the oven and lightly oil the donut pan for a clean release.
– Tap the filled pan on the counter to pop air bubbles before baking.
– Let the donuts cool in the pan for about 5 minutes, then transfer to a rack. This prevents soggy bottoms.
Common mistakes
– Overmixing the batter. It ruins the texture.
– Skimping on the leavening. If your baking powder is old, you’ll get flat donuts.
– Dunking glaze while donuts are still hot. They’ll melt or slide off.
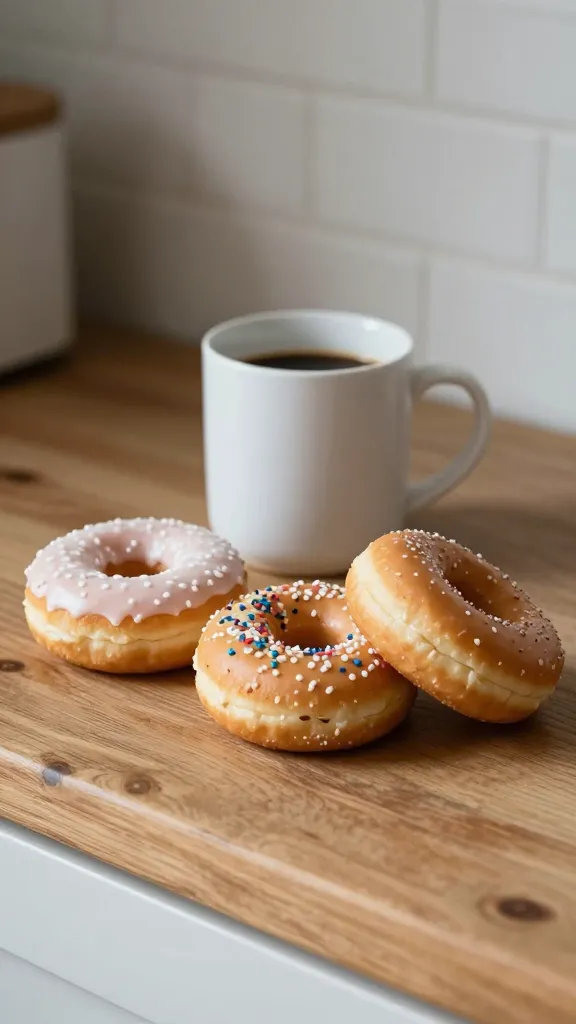
Variations you’ll actually want to make
– Citrus vanilla: add 1 tablespoon orange or lemon zest to the batter for a bright zing.
– Cinnamon-sugar crust: brush donuts with melted butter, then roll in a cinnamon-sugar mixture before glazing for a bakery-like finish.
– Chocolatey vanilla fusion: swirl in a tablespoon of cocoa powder to half the batter for a marble effect, then bake as usual.
– Boozy glaze for adults: a splash of rum or orange liqueur in the glaze adds depth (pair with almond extract in the batter to harmonize flavors).
Comparison blocks: texture, flavor, and vibe
– Texture: gluten-free blends can be a little denser; the right balance of fat and leavening helps keep them light.
– Flavor: classic vanilla wins every time, but add citrus or spice to shake things up.
– Ease: baked donuts tend to be easier and cleaner than frying, especially if you’re gluten-free—less risk of soggy vibes.
FAQ—gluten-free baked vanilla donuts, answered
Q: Can I freeze these donuts?
A: Absolutely. Freeze them once cooled. Thaw at room temperature and rewarm in a 350°F oven for a few minutes to revive that just-baked feel. FYI, glaze is optional after freezing, but it still tastes great with a glaze or powdered sugar dusting.
Q: Are these donuts chewy or crumbly?
A: When you use a proper gluten-free blend and don’t overmix, you’ll get a soft, cake-like crumb rather than a crumbly texture. The fat, eggs, and hydration all matter here.
Q: Can I make them dairy-free?
A: Yes. Use a dairy-free milk and a neutral oil or melted coconut oil. The vanilla still shines through, so you won’t miss dairy.
Q: How can I tell they’re done?
A: They should spring back when lightly pressed and look set on top. A toothpick inserted in the center should come out clean or with a few moist crumbs. Don’t rely solely on color—gluten-free batters sometimes stay pale.
Final bake: quick checklist
– Use a good gluten-free blend with xanthan gum. If not included, add a little gum to help texture.
– Room-temperature ingredients, don’t overmix, and rest before filling.
– Preheat, grease the pan, and fill each cavity to 2/3.
– Bake until set, cool, then glaze or dust with sugar.
– Experiment with add-ins and glazes to keep things fun.
Conclusion
Gluten-free baked vanilla donuts aren’t a compromise; they’re a celebration you can whip up in a single afternoon. They’re forgiving enough for weeknights and special enough for weekend vibes. So go ahead—grab that glaze, invite a friend, and turn your kitchen into a small bakery for a little while. If you bake these with love, they’ll taste like happiness in a vanilla carafe. You’ve got this.