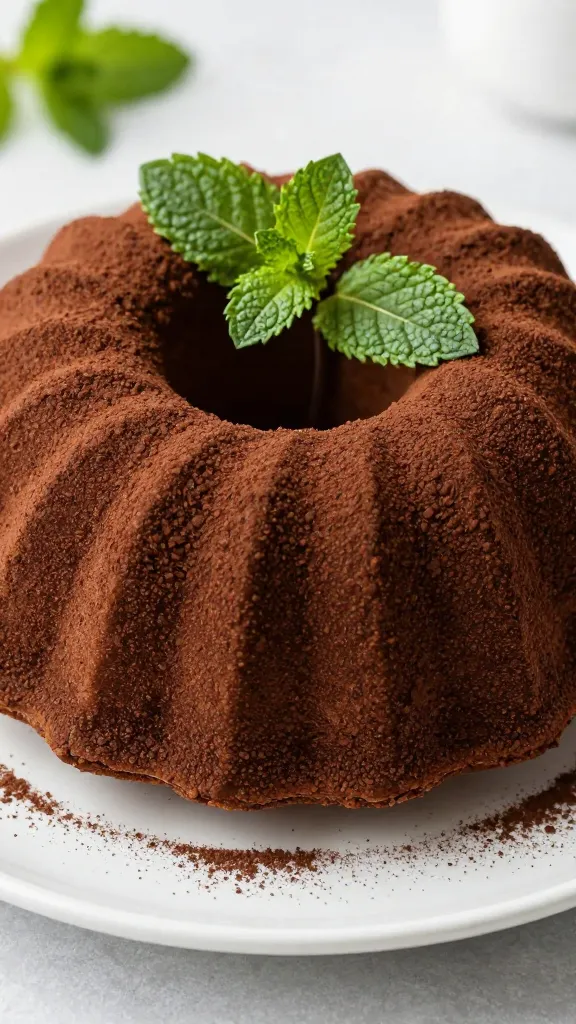
This gluten-free chocolate bundt cake is everything you want: rich, fudgy, and not a crumb of gluten drama. You get the deep chocolate bite without the gluten-induced guilt trips. Ready to bake something that smells like a bakery and tastes like a victory lap? Let’s dive in.
Why a Gluten-Free Bundt Cake, Not Just a Regular One
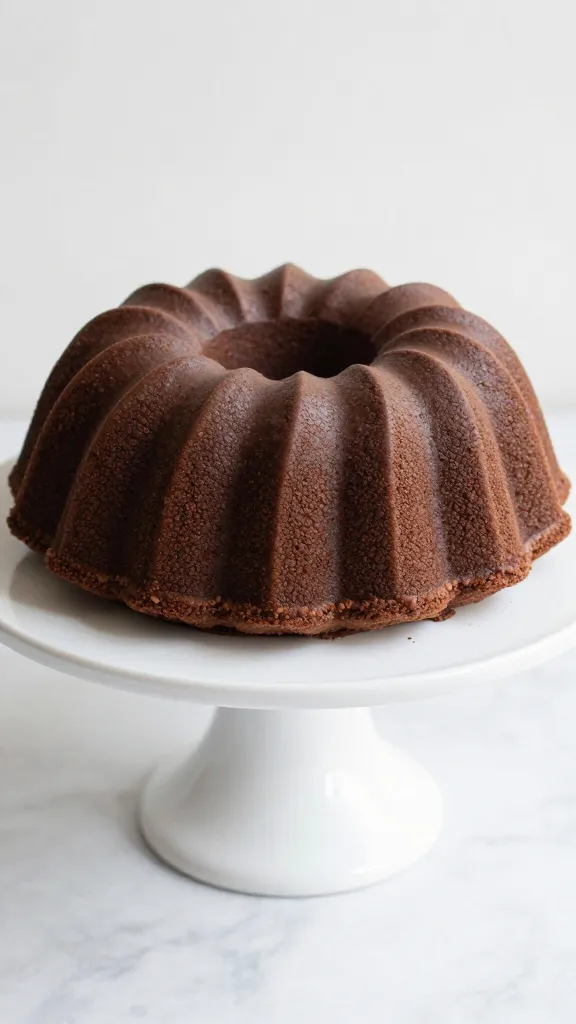
You can make a gluten-free bundt that’s every bit as moist and lush as its gluten-containing cousins. The trick isn’t pretending gluten doesn’t exist—it’s choosing the right flours and a little extra moisture to keep the crumb tender. FYI, this cake uses a blend that gives structure without chalkiness, so you won’t taste “GF” in every bite. Sound magical? It’s science with a skin-smoothing chocolate glaze.
What You’ll Need (No-Nonsense Shopping List)
– All-purpose gluten-free flour blend (look for one with xanthan gum already added)
– Unsweetened cocoa powder (the good stuff, not the watered-down kind)
– Granulated sugar and a touch of brown sugar for depth
– Eggs and neutral oil (or butter, if you’re feeling fancy)
– Buttermilk or a dairy-free alternative to keep things moist
– Baking soda and a pinch of salt
– Vanilla extract for that cozy hug of flavor
– Chocolate chips or chunks for extra melty pockets (optional)
– Glaze: powdered sugar, cocoa powder, milk or non-dairy milk, a splash of vanilla
Pro tip: most gluten-free blends are blendy enough, but if your mix includes bean flours or extra starches, you’ll notice a difference in texture. Choose blends that are designed for baking, not for thick soups.
Step-by-Step: From Batter to Bundt Glory
– Preheat to 350°F (175°C). Grease and flour your bundt pan well—the more proactive you are here, the easier release will be.
– Sift dry ingredients: gluten-free flour, cocoa, baking soda, salt. Sifting keeps the crumb light and avoids gritty pockets.
– Whisk wet ingredients: eggs, sugar, oil (or melted butter), vanilla, and buttermilk until glossy and smooth.
– Combine dry and wet: pour the wet into the dry and mix just until incorporated. Don’t overwork; gluten-free batters want a gentle touch.
– Fold in chocolate chips if using. Pour into the pan and smooth the top.
– Bake 40-60 minutes. Start checking at 40—your oven’s personality will tell you when it’s done. A toothpick should come out with a few moist crumbs, not clean as a whistle.
– Cool in the pan 15 minutes, then flip onto a rack to finish cooling. Do this gradually so the cake won’t crack.
Why the wide bake time window? Gluten-free batters can surprise you with different densities depending on flours and moisture. If you start before your timer, you risk a dry crumb or a collapsed center.
Make It Moist, Not Dense: Ingredient Tweaks
Tips for Best Results
– Use buttermilk or a buttermilk substitute. The acidity helps tenderize the crumb.
– Don’t overmix after adding dry ingredients. A little streaks are fine; overworking makes the texture rubbery.
– If your batter seems too thick, splash in a few tablespoons of milk until you reach a pourable consistency.
– Let the batter rest 10 minutes before baking. This helps the flours hydrate and reduces crumbling.
Ingredient swaps
– Dairy-free option: replace buttermilk with almond milk + a teaspoon of white vinegar or lemon juice. Let it sit a minute to curdle.
– Oil vs. butter: oil keeps things moister longer; butter adds flavor. You can do a 1:1 swap, but you might adjust fat for texture.
– Cocoa varieties: Dutch-processed cocoa gives a mellower chocolate note; natural cocoa gives brighter acidity. If you love bold chocolate, go natural for a punchy finish.
Pro Tips, Common Mistakes, and Variations
Pro tips
– Prep the pan thoroughly. A good grease-and-flour or using a nonstick spray with flour ensures clean release.
– Temperature matters: if you bake too hot, the crust forms too fast and the center stays gummy. If too cool, the cake might not rise as much.
– Room temperature eggs mix more evenly with fats, giving you a smoother batter. Quick tip: take eggs out 30 minutes before mixing.
Common mistakes
– Overbaking: gluten-free cakes can dry out quickly; start checking around 40 minutes and don’t trust the clock alone.
– Skipping hydration: GF flours drink up moisture. If your batter is dry, it’s a sign to add a splash of liquid.
– Not letting it rest before glazing: glaze seeps in better when the cake is cooled but still slightly warm, not stone-cold. Aim for room temp before finishing.
Variations
– Chocolate chunk ribbon: swirl in a half cup of chopped dark chocolate after all dry ingredients are combined, then swirl gently.
– Espresso kick: add 1-2 teaspoons of instant espresso powder to the batter for a mocha note.
– Raspberry swirl: fold in a few tablespoons of raspberry jam in the middle for a fruity surprise.
Comparison blocks
– Gluten-free vs. regular: Texture can be equally plush, but GF may need a touch more moisture and a well-chosen blend for a crumb that holds up.
– Butter vs. oil: Butter adds richer flavor but can make the crumb slightly denser; oil keeps it ultra-moist and forgiving.
– Dutch cocoa vs. natural cocoa: Dutch yields a smoother, mellower chocolate; natural boosts brightness and acidity, which some people adore.
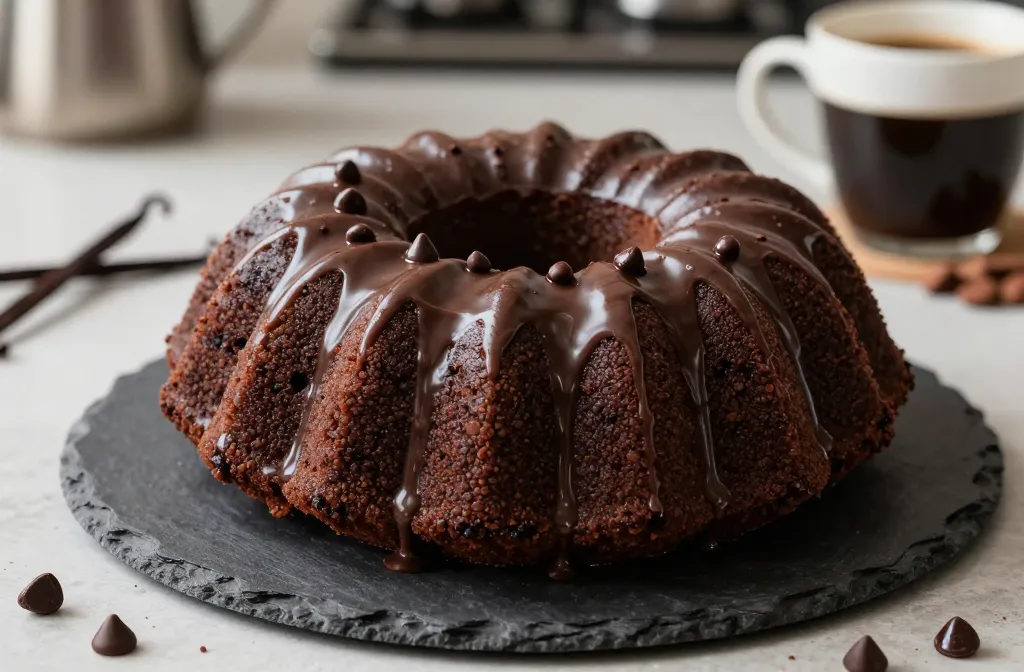
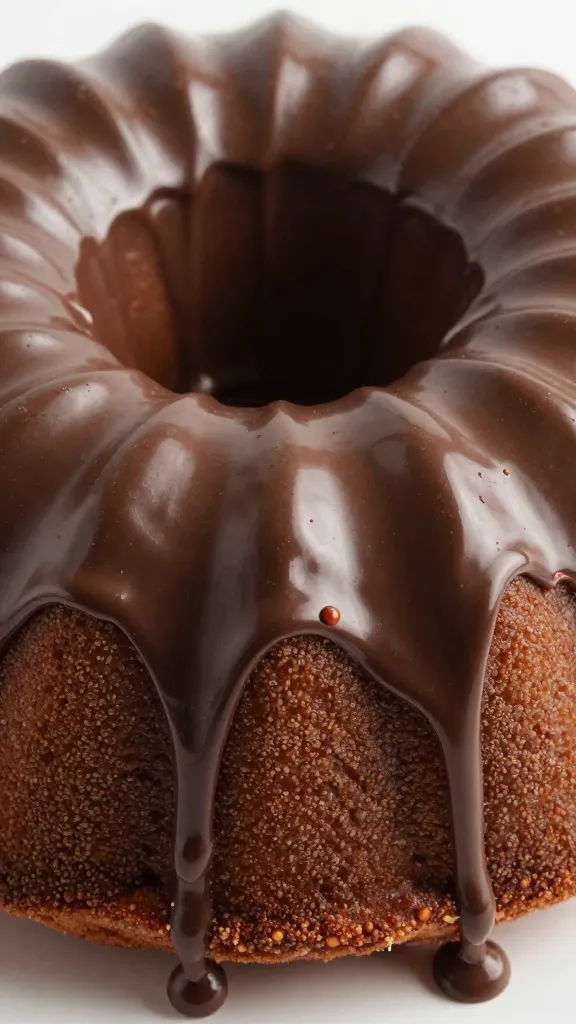
Glaze, Frosting, and Finishing Touches
A glossy glaze makes or breaks a bundt. You want something that clings but doesn’t weigh the cake down.
– Simple chocolate glaze: 1 cup powdered sugar, 2-3 tablespoons cocoa powder, 2-3 tablespoons milk, pinch of salt, optional vanilla. Whisk until smooth and pourable.
– Creamy ganache flourish: heat 1/2 cup heavy cream, pour over 1 cup dark chocolate chips, stir until glossy. Drizzle when the cake is lukewarm so it sets with a satin finish.
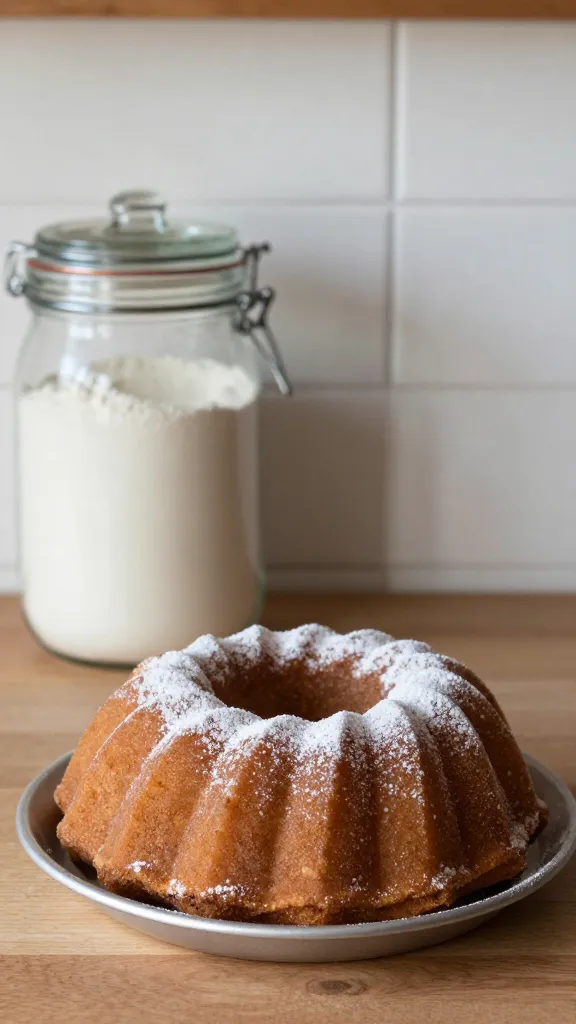
– Fruit-forward finish: dust with a light shower of powdered sugar and a few fresh berries for brightness.
FAQ: Quick Answers to Your Burning GF Bundt Questions
Q: Can I freeze gluten-free bundt cake?
A: Yes. Wrap well and freeze for up to 3 months. Thaw at room temp, then reheat gently if you want that bakery-fresh warmth.
Q: Why did my GF bundt crack?
A: Dry air or overbaking is usually to blame. Make sure your pan is well-greased, you didn’t overmix, and you checked for doneness a bit earlier than the clock says.
Q: Can I make this vegan?
A: Absolutely. Use flax eggs or aquafaba, dairy-free milk, and vegan butter. The flavor stays rich, with a slightly different texture, but still bomb.
Q: How do I store leftovers?
A: Store covered at room temperature for 2-3 days or refrigerate up to a week. Freeze slices or the whole cake for longer life.
Serving Ideas and Party-Ready Presentation
Who says gluten-free means solemn dessert? Slice into generous wedges and plate with a dollop of whipped cream or a scoop of vanilla ice cream. A drizzle of the glaze or ganache makes it feel like a fancy café moment, minus the line. FYI, a few edible gold leaves or a sprig of mint can make your dessert table look legit classy without trying too hard.
Conclusion
This gluten-free chocolate bundt cake isn’t just a workaround; it’s a celebration of what gluten-free baking can be when you pick the right ingredients and a smart approach. It stays moist, chocolatey, and satisfying enough to please the toughest dessert critic—your friends who didn’t know GF could taste this good. So grab your pan, preheat, and bake like you mean it. You’ll have a showstopper that’s equal parts cozy and chic. Enjoy the yum, and don’t be shy about sharing the verdict: IMO, this is a win.