I’ll be honest: gluten free pull apart garlic knots are basically a party in a warm, fluffy package. The aroma hits first, then the tender bite, then the gobbling begins. If you’ve been missing this cozy, cheesy pull-apart vibe, you’re in the right kitchen. Let’s dive in and bake up something spectacular without the gluten drama.
What makes gluten free pull apart garlic knots so darn irresistible
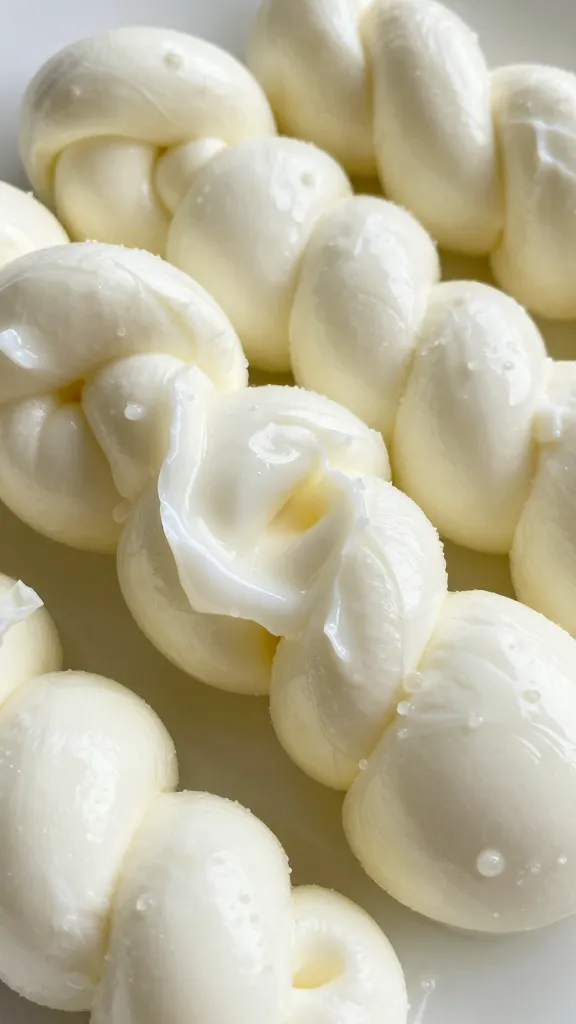
We’re chasing that soft, pull-apart texture and garlicky goodness all in one bite. Gluten free doughs often lean toward dense or crumbly, but a few tricks keep these knots light, tender, and gloriously savory. Think garlic butter, cheese that melts into every seam, and a crust that gives just a little sigh when you break it open. FYI, wiggly mozzarella strings not required, but highly encouraged.
The essential components you’ll need
- Gluten free flour blend with xanthan gum (or psyllium husk) to bind and give elasticity.
- Active dry yeast and a touch of sugar to wake up the dough.
- Milk or dairy-free milk for softness and moisture.
- Butter or olive oil for richness.
- Garlic (minced or grated) and parmesan/mozzarella for buzzworthy flavor and that gooey pull.
- Salt and herbs to keep things balanced—think oregano, parsley, or chives.
Tip: If you’re dairy-free, swap in dairy-free butter and a plant-based cheese that melts nicely. It won’t be identical, but it can still wow.
Step-by-step: making the dough that behaves
- Warm milk and proof the yeast with a pinch of sugar until it’s foamy. If your yeast is shy, your knots will be shy too.
- Whisk together your gluten free blend with a binder (xanthan gum if your flour blend doesn’t already include it). Add a little extra for chew.
- Mix in the wet ingredients until a soft, cohesive dough forms. It should be tacky, not sticky like glue. If it sticks to your hands, add a tablespoon of flour at a time.
- Let the dough rest and rise. Yes, it rises! Cover and give it 30–45 minutes. You’ll notice it puffing a bit—the magic of gluten-free elasticity in action.
- Roll out into a rough rectangle, cut into strips, and layer with garlic butter and cheese. We’ll braid or loop them into that signature pull-apart shape.
Assemble: shaping is half the fun
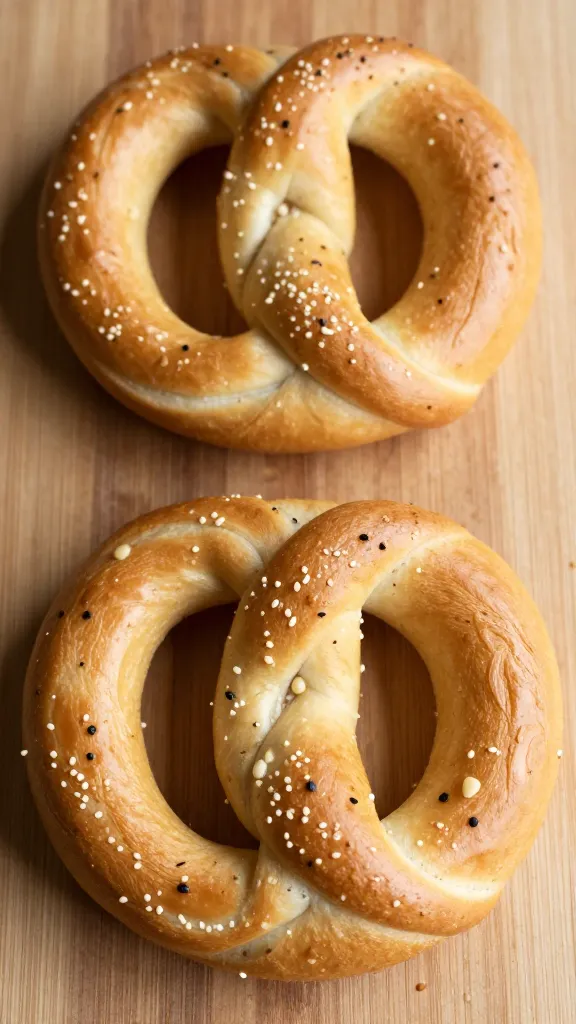
- Classic knot method: Cut dough into long strips, stack with filling, then braid into a knot-like roll and twist into a loaf-like form. Slice into segments after baking to maximize pull-apart action.
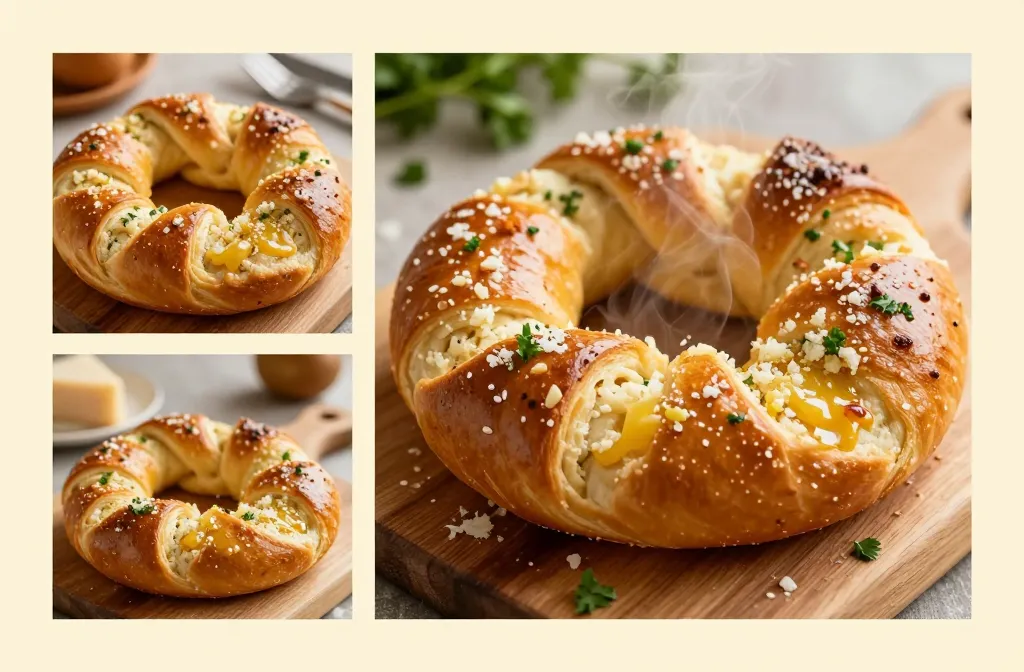
- Pull-apart crown: Arrange strips in a circular, rosette pattern so when you bake, you get a ring of cheesy, garlicky goodness you can tug apart piece by piece.
- Cheesy pockets: If you’re feeling playful, stuff each knot with extra cheese before laying them in the pan for gooier pockets.
Pro tip: Keep the dough under a damp towel while shaping so it doesn’t dry out. Dry dough = dry knots. Not a good look.
Garlic butter magic: flavor that sticks around
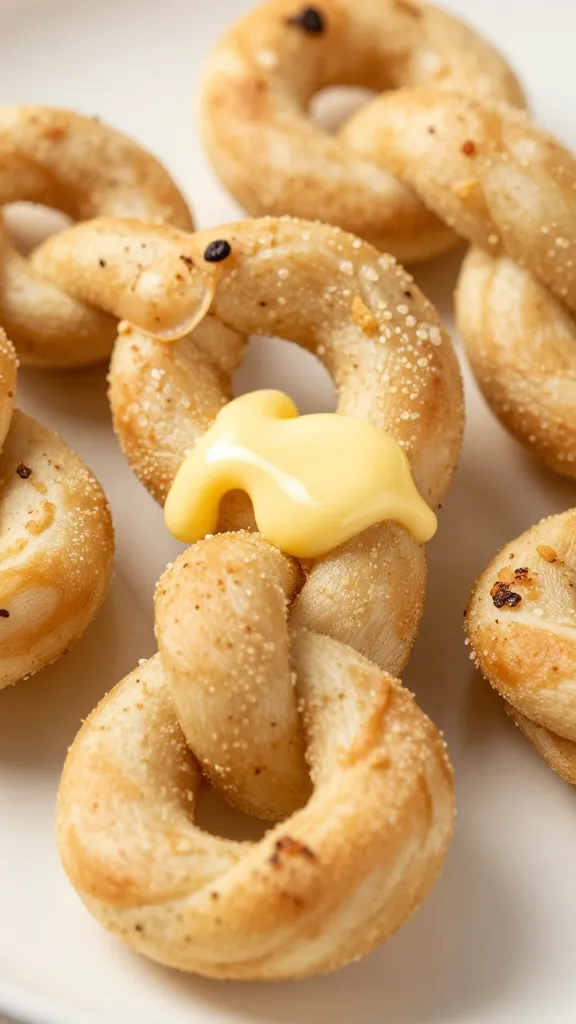
- Butter, garlic, and a touch of salt are the backbone. Sauté garlic gently in butter to bloom its aroma, then brush over the dough once it’s shaped.
- Cheese strategy: Layer mozzarella between strips for melty centers; finish with parmesan on top for crispy, toasty notes.
- Fresh herbs finish: parsley or chives brighten the whole dish. If you’re obsessed with heat, a pinch of red pepper flakes adds a nice kick.
FYI, don’t drown the dough in butter—your knots should glisten, not swim. A light hand yields the best texture.
Fresh out of the oven: texture, doneness, and how to know you’re done
- Visual cue: The top is golden brown and the edges look set.
- Touch cue: The loaf should feel firm but not hard; a gentle press should rebound.
- Aromas: If you can smell garlic and toasty cheese, you’re good to go. Don’t wait until it’s burnt—burnt garlic is not an upgrade.
Let them rest for about 10 minutes after baking. This helps the cheese set and makes pulling apart easier without tearing the knots apart emotionally or physically.
Pro tips, common mistakes, and how to fix them
Pro tips
- Proof your yeast in warm, not hot, liquid. Scalding liquid kills yeast and your dreams.
- Toast your flour blend a touch before mixing. A little warmth helps activate flavors and ease handling.
- Use a baking dish that gives a little space between knots. Too snug and you risk soggy bottoms.
Common mistakes
- Too dry dough: add a splash more milk or water and knead gently to reincorporate moisture.
- Overbaking: gluten free dough can dry fast. Start checking at the 15-minute mark if you’re baking small rounds.
- Currying favor with the butter: don’t smother the dough. A little goes a long way for flavor and texture.
Variations
- Herbed garlic knots: Add rosemary or thyme to the dough for an earthy perfume.
- Cheesy center knots: Stuff the center with a mozzarella or cheese blend for a molten surprise.
- Spicy kick: Blend in a pinch of chili flakes into the garlic butter for heat that sneaks up on you.
Ingredient swaps
- <strongFlour: Use a 1:1 gluten free blend with xanthan gum. If your blend already contains binder, you may omit extra xanthan.
- <strongDairy: Swap butter for olive oil or dairy-free butter; the dough will be a touch denser but still delicious.
- Milk: Non-dairy milks work fine—almond, soy, or oat all behave in a similar range.
Comparison: if you’ve tried gluteny knots before vs gluten free
Gluteny knots are all about that elasticity and chew. Gluten free versions lean into tenderness and a crumb that crumbles nicely. You’ll trade some chew for a soft, pillow-like bite—still insanely tasty, just different. If you crave extra chew, add a little psyllium husk powder to your dough.
FAQ: common questions, clear answers

Q: Can I freeze these? A: Yes. Bake them almost fully, cool, then freeze. Reheat gently in a 350°F (175°C) oven for 8–10 minutes until warm and melty.
Q: Do I need to refrigerate leftovers? A: If you have any left, store in an airtight container in the fridge for up to 3 days. Reheat to revive the softness.
Q: Can I make them vegan? A: Absolutely. Use vegan butter and a plant-based cheese that melts well. Some melty non-dairy cheeses behave differently, so expect a slightly different melt.
Q: How do I prevent them from sticking? A: Lightly oil your pan or line with parchment; dust your workspace with a tiny amount of gluten free flour to prevent sticking, then brush with butter before baking.
When you’re ready for a quick make-ahead version
- Prepare the dough, cut into strips, and layer with garlic butter. Instead of shaping, wrap the strips in parchment and chill. When ready to bake, let them come to room temp and bake as directed.
- For a party platter, bake in a large circle or ring and pull apart as guests arrive. It’s less chaotic than a bread bowl full of dip—though still dip-worthy.
Conclusion
Gluten free pull apart garlic knots prove you don’t need gluten to have a glorious, cozy bite. They’re forgiving, versatile, and endlessly crave-worthy. So next time you’re craving something comforting but not gluten-y, roll up your sleeves and bake the softest, garlickiest knots you’ve ever tasted. IMO, these little bundles might become your go-to crowd-pleaser, whether you’re feeding a family, a game night crew, or just your own snack attacking squad. Give them a whirl and tell me if you’re team chewy or team pillow-soft—we can debate over extra garlic butter.
Finish line – a quick recap
- Use a solid gluten free flour blend with a binder for best melt and lift.
- Proof yeast, don’t skip the garlic butter, and don’t overbake.
- Experiment with fillings and toppings to make them yours.