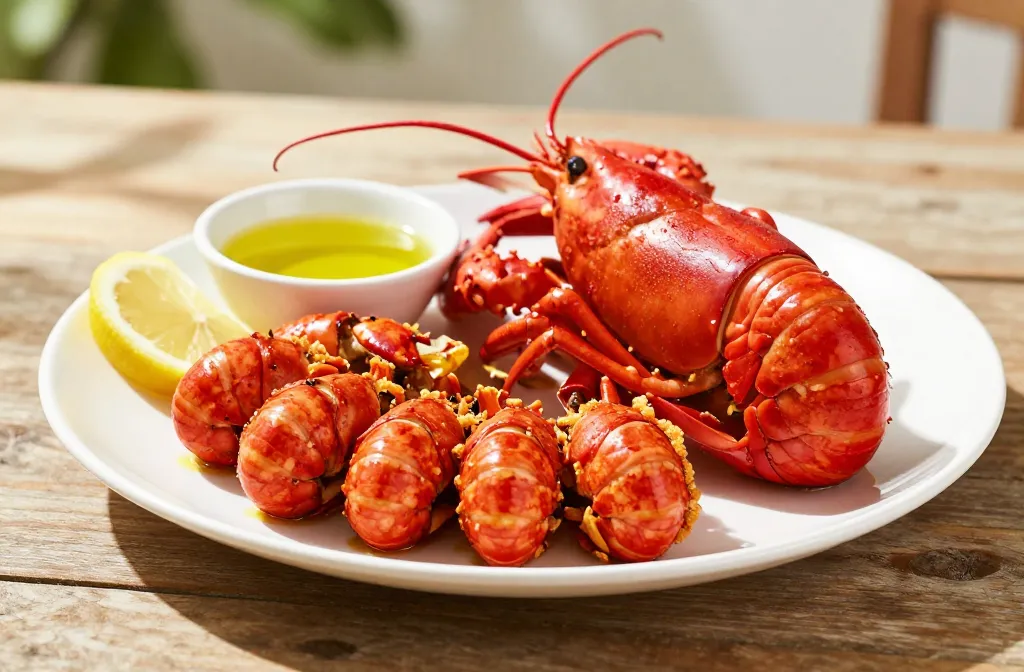
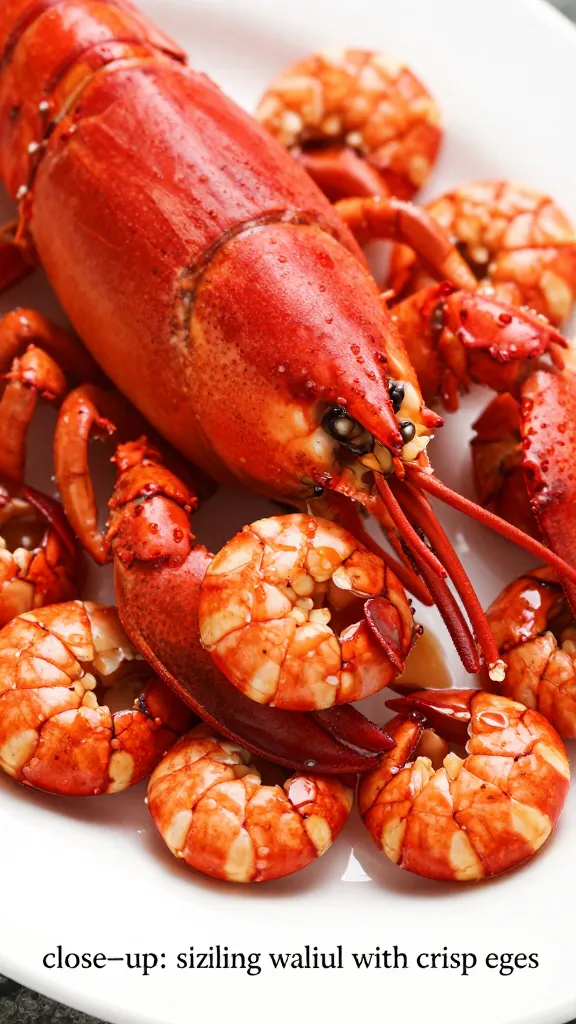
If you’re craving lobster on a warm summer night but want something a little healthier and way easier, you’ve found your jam. Gluten-free and juicy aren’t usually two words you hear in the same sentence, but here we are. Summer vibes, crispy edges, and melt-in-your-mouth lobster tails—all without gluten drama. Ready to dive in?
Why lobster tails and the air fryer are a perfect match this summer
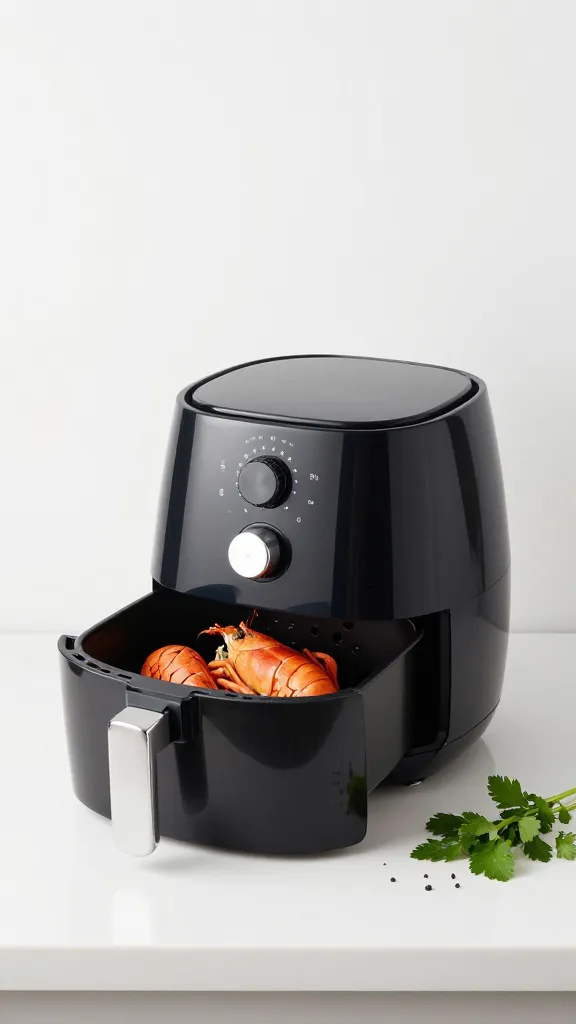
Summer screams quick, easy, and shareable. Enter air fryer lobster tails: a perfect combo of speed, flavor, and minimal cleanup. The hot, circulating air gives you that just-grilled texture without firing up the grill. Plus, gluten-free friends, you won’t miss a thing—no breading to trip over, no floury layers, just pure lobster goodness.
What’s the secret? Lobster tails are naturally gluten-free, but you still want the right prep to avoid dry bites. The air fryer concentrates flavor while keeping the meat tender, and a quick brush of olive oil with light seasoning does wonders. FYI: you don’t need butter by the boatload to feel fancy here—just enough for all the joy.
Getting your lobster tails ready (the quick, non-panic way)
Prep is the boring-but-happy part. Do this right, and you’ll thank your future self.
- Choose tails that are tightly closed and feel heavy for their size. Good signs all around.
- Thaw frozen tails in the fridge overnight or run under cool water for about 20 minutes if you’re in a rush.
- Pat dry. Moisture is your nemesis here because it can steam rather than crisp.
- Cut the top shell down the center with kitchen shears, then gently pry the meat upward so it sits on top of the shell. This is the classic “butterfly” style—looks fancy, feels easy.
- Brush with a light coat of olive oil or melted butter, and season with salt, pepper, and a touch of paprika or lemon zest for brightness.
If you’re not into the whole shell-cracking drama, you can do a milder version: simply slice the top of the shell, loosen the meat, and lay it back on the shell. Either way, aim for about a 1/4-inch thickness of meat for even cooking.
Time, temperature, and general method (the sweet spot)
This is where five minutes can feel like a year if you’re waiting for the perfect bite. Here’s the fast lane.
- Preheat your air fryer to 400°F (204°C). Yes, preheating is a thing—trust me.
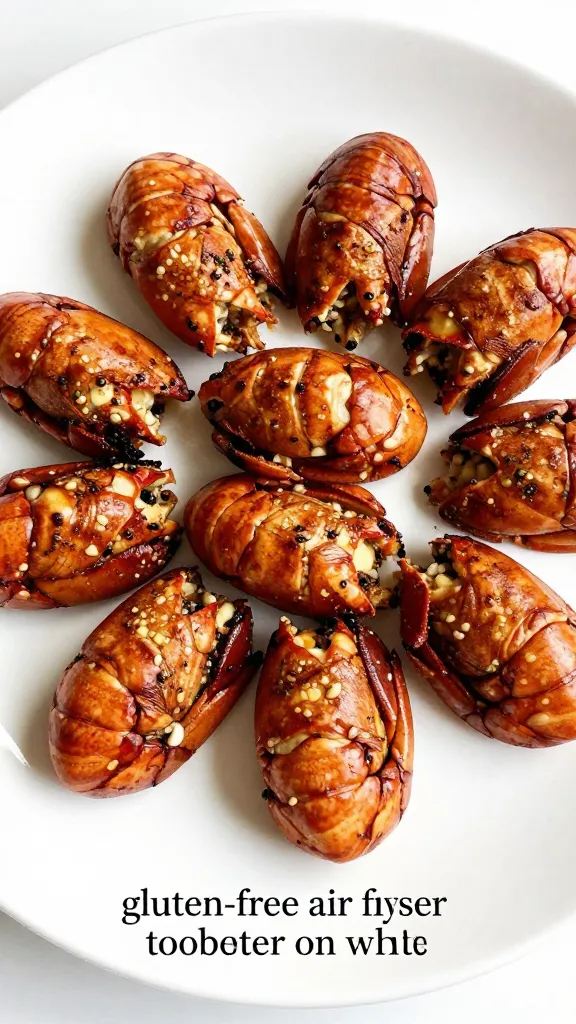
- Place the prepared tails in a single layer. Don’t overcrowd unless you want sad, soggy results.
- Cook for 5–7 minutes depending on thickness. You’re aiming for opaque, just-cooked meat with a hint of pink near the edges.
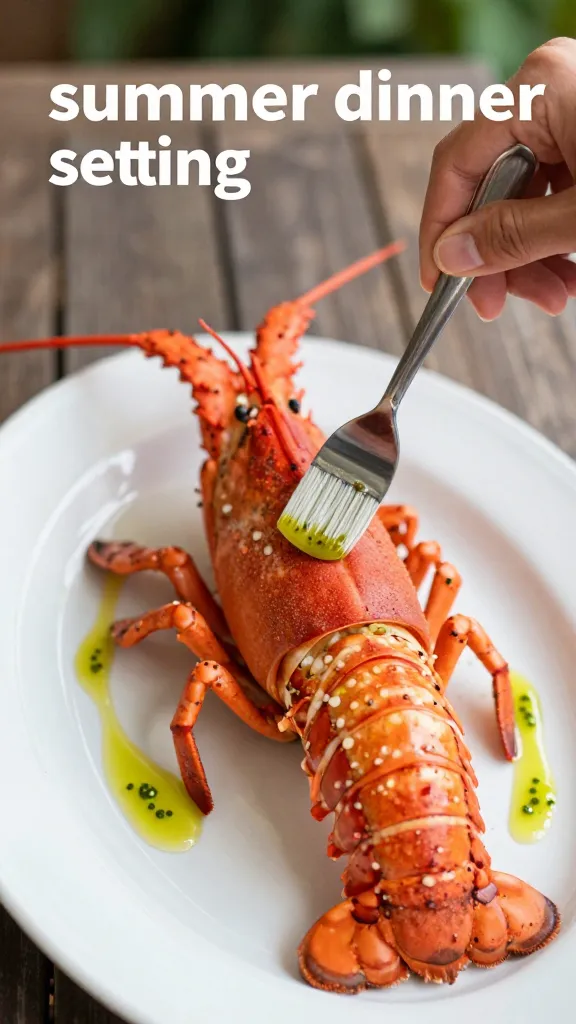
- Finish with a quick brush of lemon-butter glaze if you want that glossy, restaurant-worthy finish.
Pro tip: if your tails are on the larger side, start checking at 6 minutes. If they’re petite, keep an eye at 5 minutes. You know your air fryer better than me—adjust as needed.
Flavor ideas that stay gluten-free and drool-worthy
Gluten-free doesn’t mean bland. It means letting the lobster shine and adding clean, bright flavors.
Classic lemon-butter glow
– Melted butter whisked with lemon juice and a pinch of salt. Brush on after cooking for a glossy finish. It’s simple, it’s fancy, it’s exactly what you want on a hot summer night.
Garlic herb lift
– Toss a minced garlic clove into the butter before brushing, add chopped parsley or chives after cooking. The aroma alone sells dinner.
Smoky spice twist
– Use smoked paprika, a pinch of cayenne, and a dash of chipotle powder. Keeps it gluten-free, but adds a playful kick.
Savory parmesan sprinkle (gluten-free indeed)
– A light dusting of finely grated Parmesan right before serving gives a crispy, cheesy crust vibe without any gluten baggage.
Common mistakes (and how to dodge them)
We all mess up, but the fix is easy.
- Overcrowding the air fryer basket. More space = crisper edges. Skip the crowding and give everyone air room.
- Cooking from frozen without extra time. If you must start frozen, add a couple minutes and check early. Frozen isn’t your friend for crisping here.
- Using too much liquid. Butter is delicious, but a heavy butter glaze can lead to soggy tails. Less is more for that final gloss.
- Not preheating. It’s a tiny step with a big payoff—don’t skip it, or you’ll end up with uneven texture.
Ingredient swaps and gluten-free swaps galore
Flexibility is the name of the game. Here are easy swaps to keep it gluten-free and exciting.
- Butter swap: If dairy is a concern, use olive oil or a dairy-free butter substitute for brush-on flavor.
- Herb swaps: Fresh thyme or dill play beautifully with lobster. No thyme? Don’t sweat it—parsley does the job nicely too.
- Spice swap: If you’re not into paprika, try thyme-lemon zest or a pinch of Old Bay for a seafood-forward kick (just check the label for gluten-containing ingredients).
- Oil swap: Avocado oil brings a high smoke point and a clean, mild taste that won’t overwhelm the lobster.
Pro tips for pro-level results
You didn’t come here to half-guess the finish, right? Here are some nerdy-but-simple tips.
- Season under the shell, not just on top. A bit of seasoning tucked between meat and shell elevates every bite.
- Use a small pastry brush for even coating. Tiny tools = tiny mess, big payoff.
- Let the tails rest for a minute after cooking. Juices redistribute and you don’t burn your tongue in a fit of summer hunger.
FAQ: quick answers in plain language
Is it truly gluten-free if I use butter and spices?
Yes. Lobster tails are inherently gluten-free. Butter, olive oil, and pure spices are naturally gluten-free unless you stumble into a pre-mixed spice blend with hidden gluten. Always read labels if you’re unsure.
Can I sauce these tails after cooking?
Absolutely. A lemon-butter glaze or a garlic-herb drizzle works wonders post-cook. It adds gloss and flavor without gluten drama.
What if my tails aren’t fully thawed?
A quick thaw works fine. If they’re still a bit icy, give them a few more minutes in the fridge or under cool running water before cooking. You want pliable, not brittle.
How do I tell when they’re perfectly cooked?
Look for opaque meat and a touch of pink near the ends. Juiciness matters—avoid dry bites. The internal temp should be around 140–145°F (60–63°C) for tender perfection.
Variations to try when you want something new
- capitalize on seasonal herbs: summer basil or mint lightens up the finish when paired with lemon.
- Chipotle-lime glaze for a smoky, zippy finish.
- Old Bay and butter toast: but keep it gluten-free by avoiding bread-based toppings—old bay shines on its own.
Comparison blocks: air fryer vs. grill vs. broiler
Air fryer
– Pros: quick, crisp without extra fat, no need for a full grill setup. Great for apartment living or a weeknight fix.
– Cons: smaller batches, watchful of timing to avoid dry edges.
Grill
– Pros: classic char, smoky flavor, great for summer cookouts.
– Cons: weather-dependent, more cleanup, potential for uneven heat zones.
Oven broiler
– Pros: bar-top convenience if you don’t have an air fryer or grill.
– Cons: less even crisping, may require careful positioning.
Conclusion
Gluten-free air fryer lobster tails are the MVP of summer seafood. They give you restaurant vibes with zero gluten chaos and a fraction of the cleanup. Ready to impress your crew without breaking a sweat? Fire up that air fryer, grab some tails, and let the summer magic begin. IMO, this is the kind of simple joy you’ll brag about at the next cookout. Happy tails, friends!