
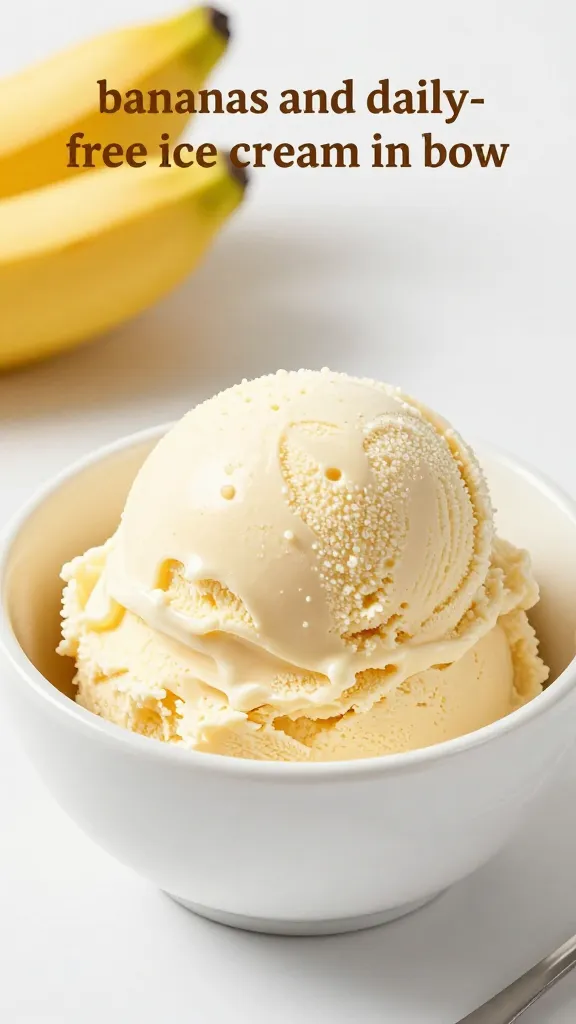
If you’ve got ripe bananas and a craving for something creamy, you’re about to unlock dessert bliss with just 3 ingredients. No dairy, no gluten, no drama. Freeze the vibes, blend the magic, and you’re tasting summer in a scoop.
Why 3-Ingredient Banana Ice Cream Works So Well
Who knew simple frozen fruit could feel so indulgent? The secret is ripe bananas bring creaminess and natural sweetness, while optional add-ins punch up the flavor without adding gluten or dairy. It’s portable, snackable, and surprisingly versatile. FYI, you don’t need a fancy machine to make this magic happen (though a blender helps).
Core Method: The Quick, Foolproof Playbook
- Slice ripe bananas and freeze them until solid.
- Blend until velvety. If it’s stubborn, add a splash of dairy-free milk or a tiny bit of water—not a milkshake, just enough looseness.
- Taste and freeze a little longer if you want a firmer scoop.
Tip: For ultra-smooth results, use very cold bananas and work in short pulses so you don’t overheat the blender.
Ingredient Swaps That Keep It Simple
- Bananas: Use spotty-ripe for maximum sweetness. If you’ve got greenish bananas, let them ripen a day or two more—trust me, it’s worth the wait.
- Liquid: Water works in a pinch, but unsweetened almond, coconut, or oat milk keeps things creamier without dairy.
- Flavor add-ins (optional but encouraged): a pinch of cinnamon, a teaspoon of vanilla extract, peanut butter, cocoa powder, or dark chocolate chips.
Want a fruity twist? Stir in a handful of berries after the blend for a marbled effect. FYI, less is more with add-ins—they shouldn’t overwhelm the banana base.
Pro Tips for the Creamiest Texture

- Freeze in chunks to speed up blending and prevent chunkiness.
- Pulse, don’t blitz—start with short bursts, then blend on higher speed as needed.
- Chill the bowl—a cold blender bowl helps maintain the chill while blending.
- Texture control—stop when just smooth to keep a light, fluffy mouthfeel rather than a dense, icy block.
Common Mistakes (So You Don’t Repeat Them)
- Using bananas that aren’t ripe enough. They won’t be sweet enough and can taste flat.
- Over-blending. You’ll end up with a banana puree rather than ice cream—not bad, just not the scoop you want.
- Adding too much liquid. You’ll thin the mix and lose that creamy, spoonable texture.
If your first batch feels icy, try freezing the banana slices longer or adding a small amount of coconut cream to boost richness. IMO, the base should feel like soft-serve, not a smoothie in disguise.
Variations That Stay Gluten-Free & Dairy-Free
- Chocolate banana—blend with 1 tablespoon cocoa powder or melt-in cacao nibs for a fudgy spin.
- Peanut butter banana—swirl in 1–2 tablespoons peanut or almond butter for a creamy, nutty vibe.
- Berry swirled—fold in a handful of raspberries or blueberries after blending for a marble effect.
- Coconut cream vibe—swap in a tablespoon of full-fat coconut cream for extra richness (keep it dairy-free).
Tips for Best Results
- Let frozen banana chunks sit at room temp for 5 minutes before blending if they’re rock solid.
- Do a quick pre-blend smash to break up chunks, then blend to creamy.
- Store leftovers in a container with parchment between layers to prevent a hard crust from forming.
Ingredient Swaps
- If you’re nut-free, use pea protein pudding or a splash of dairy-free milk to loosen without introducing dairy.
- For extra chill, freeze the blender pitcher for 20 minutes before you start.
Flavor Pairings That Play Nice
- Vanilla + banana + cinnamon
- Banana + cocoa + espresso powder (for a moody mocha)
- Banana + almond butter + sesame seeds
FAQ: Quick Answers for Your 3-Ingredient Scoop
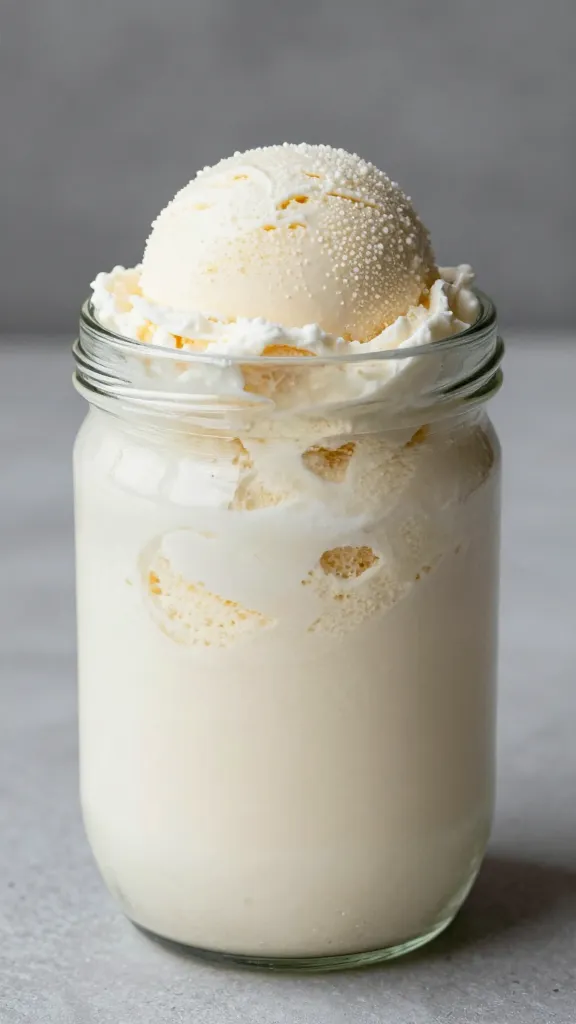
Q: Can I skip the ice cream maker entirely? A: Absolutely. A high-powered blender or food processor works great. If you don’t own either, you can freeze the blended mix and scratch-scrape with a fork to mimic texture.
Q: How long does it keep? A: About 1–2 weeks in the freezer. It won’t taste exactly like soft-serve after freezing, but the flavors stay pretty great. Let it sit at room temp for a few minutes before scooping.
Q: Is this truly gluten-free? A: Yes. Bananas, and the typical add-ins listed above, are gluten-free. Just check labels on any flavor boosters to avoid hidden gluten.
Variations, Comparisons, and Quick Truths
- 3-ingredient vs. 4-ingredient: The extra ingredient usually adds texture or depth (like a spoon of nut butter). If you want a pure banana dessert, stick with 3.
- Ice cream maker vs. no machine: Machines churn for a scoopier texture; blender results are creamy enough and far less effort.
- Batch size: Double or triple the recipe if you’re feeding a crowd, then portion into airtight containers for quick leftover portions.
Real-Life Hacks for Everyday Enjoyment
- Turn leftovers into a quick “banana split” by layering with dairy-free chocolate sauce and chopped nuts.
- Make ahead for busy weekdays—freeze in individual portions for grab-and-go snacks.
- Use overripe bananas as a pantry lifeline, not landfill fuel—your future self will thank you.
Conclusion
If you’ve been hunting for a dessert that’s simple, dairy-free, and gluten-free, this 3-ingredient banana ice cream hits the spot. It’s effortless enough for a weeknight treat, but flavorful enough to impress guests who think you’re a fancy chef. So grab those bananas, freeze them, and let the creamy magic begin. IMO, you’ll find yourself reaching for this every time you crave something sweet but want to keep it light.